

In the realm of visual storytelling, the allure of a pristine studio shot is undeniable—crisp lighting, seamless backdrops, and an aura of professionalism that elevates any image. Yet, the barriers to entry—costly rentals, intimidating gear, and the logistical nightmare of scheduling—can feel insurmountable. What if the secret to achieving that coveted studio aesthetic wasn’t in the studio at all? What if the tools to craft a faux-studio masterpiece were hiding in plain sight, tucked into the corners of your home or the pockets of your smartphone? The truth is, you don’t need a high-end studio or a vault of expensive equipment to create images that dazzle. With a dash of creativity, a sprinkle of resourcefulness, and a willingness to experiment, you can fake a studio shot that fools even the most discerning eye. Let’s dive into the art of crafting professional-grade images without the studio—or the price tag.
Imagine transforming a cluttered bedroom into a minimalist sanctuary, or turning a sunlit balcony into a high-fashion runway. The magic lies in understanding how to manipulate light, space, and perspective to your advantage. Whether you’re a budding content creator, a small business owner, or simply someone who loves the thrill of visual experimentation, this guide will equip you with the techniques to create studio-quality images that captivate. From harnessing natural light to repurposing everyday objects as props, we’ll explore how to bend reality to your will—all without breaking the bank.
The Alchemy of Natural Light: Your Free Studio Partner
Light is the lifeblood of photography, and in the absence of a studio, nature’s own illumination becomes your most powerful ally. The key lies in recognizing the qualities of light at different times of day and learning to harness them with intention. Early morning and late afternoon—those golden hours—cast a warm, diffused glow that flatters subjects and erases harsh shadows. Position your subject near a window, and watch as the soft light sculpts their features, lending depth and dimension to your shot. For a more dramatic effect, try placing a sheer white curtain between the light source and your subject to diffuse the rays further, mimicking the softbox effect of a professional studio.
But what if the sun is high, and the light is unflattering? Enter the humble white foam board, a DIY reflector that bounces light back onto your subject, filling in shadows and adding a subtle luminosity. Angle it carefully, and you’ll create a three-point lighting setup worthy of a glossy magazine. Even a piece of white poster board or a crumpled aluminum foil taped to cardboard can serve as a makeshift reflector, proving that ingenuity often trumps investment. The beauty of natural light is its unpredictability—it forces you to adapt, to see the world through a lens of curiosity, and to find beauty in the most ordinary of settings.
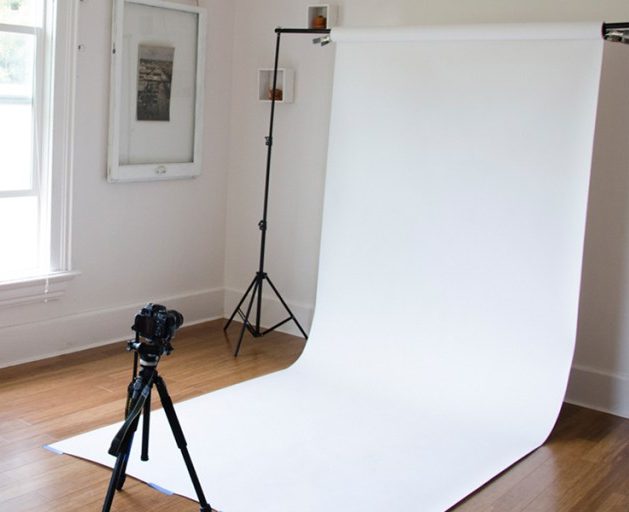
Backdrops on a Budget: From Blank Walls to Seamless Infinity
A seamless backdrop is the hallmark of a professional studio shot, but it doesn’t require a roll of expensive paper or a rented cyclorama. The trick is to think beyond the conventional and repurpose what you already have. A plain white wall, for instance, can serve as a clean, distraction-free canvas—especially if you angle your shot to avoid visible corners or imperfections. For a touch of texture, drape a bedsheet over a clothesline or a wall-mounted rod, ensuring it’s wrinkle-free for a polished look. A bedsheet? Absolutely. The key is to choose a neutral color that won’t compete with your subject, whether it’s a crisp white, a muted gray, or a soft pastel.
For those craving a bit more drama, consider a painted backdrop. A large sheet of foam board or even a sturdy cardboard box can be transformed into a gradient or abstract pattern with a few cans of spray paint. Hang it vertically behind your subject, and suddenly, you’ve got a custom backdrop that rivals anything you’d find in a high-end studio. Alternatively, venture outdoors and shoot against a brick wall, a wooden fence, or a lush green hedge—textures that add depth and character to your images without costing a dime. The world is your studio, and every surface is a potential canvas.
DIY Lighting Hacks: Crafting Shadows and Highlights Like a Pro
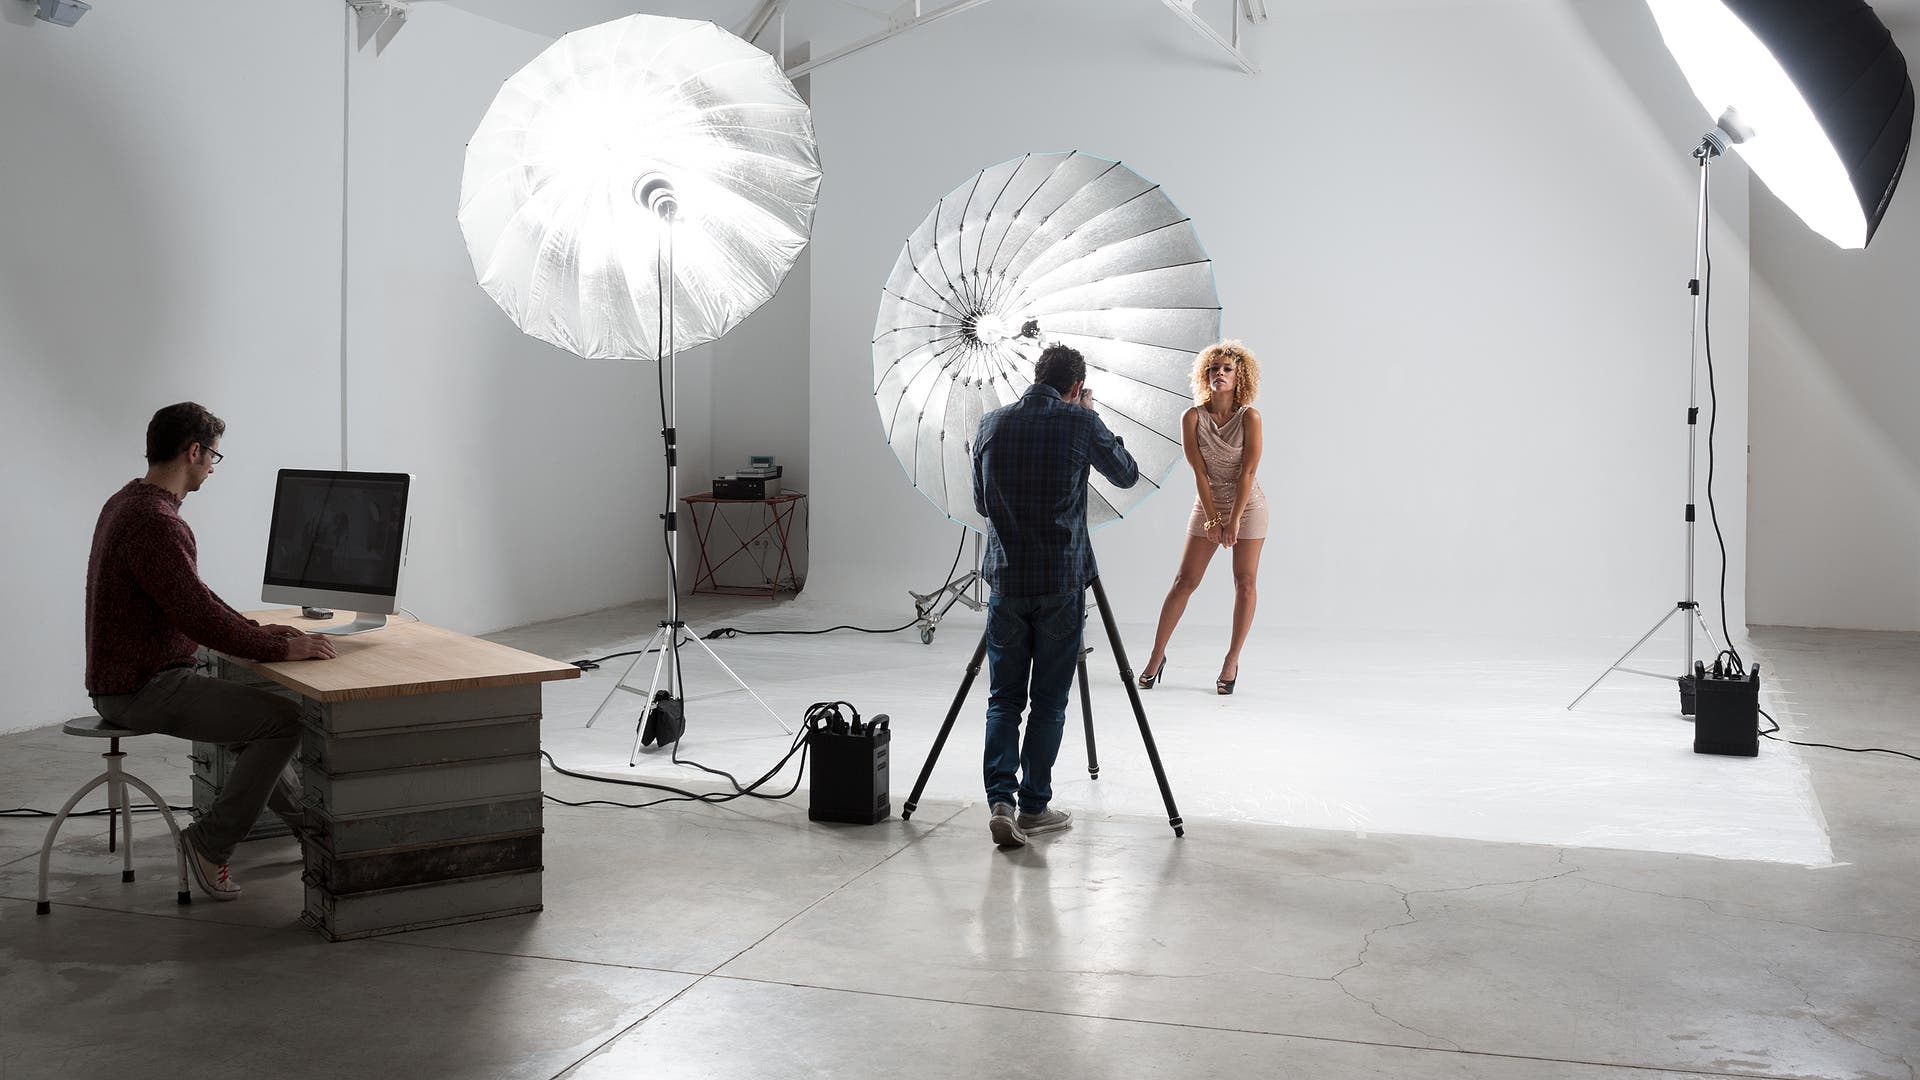
Lighting is where the magic happens, and with a few clever hacks, you can replicate the controlled environments of a studio without the hefty price tag. The first rule of thumb? Avoid overhead lighting at all costs. Ceiling fixtures cast unflattering shadows that flatten your subject and drain the life from their features. Instead, opt for side lighting or angle your light source to create a gentle gradient across your subject’s face. A desk lamp with a bright LED bulb can serve as your key light, while a second lamp positioned at a 45-degree angle acts as your fill light. For a touch of backlighting, place a third lamp behind your subject to separate them from the backdrop, adding a halo effect that screams professionalism.
But what if you’re working with limited light sources? Get creative with household items. A flashlight wrapped in tissue paper can mimic a softbox, while a white plastic bag stretched over a wire hanger can diffuse light in a pinch. Even the screen of your smartphone, set to maximum brightness and covered with a sheer fabric, can serve as a makeshift light source for close-up shots. The goal isn’t to replicate studio lighting exactly but to create a mood—whether it’s moody and dramatic or bright and airy—that enhances your subject and tells a story.
Props and Styling: Elevating the Ordinary to Extraordinary
A studio shot isn’t just about lighting and backdrops—it’s about the narrative you weave through your composition. Props and styling are the secret ingredients that transform a simple image into a visual story. Think of your subject as the protagonist, and the props as the supporting cast that sets the scene. A vintage book, a steaming cup of coffee, or a scattering of autumn leaves can evoke a sense of nostalgia or warmth. The key is to choose items that feel intentional, not cluttered. Less is often more; a single well-placed prop can speak volumes.
For product photography, the same principle applies. A clean, uncluttered surface—a wooden cutting board, a marble countertop, or even a sheet of glass propped up on books—can serve as a neutral stage for your item. Add a sprig of greenery or a scattering of coins for scale, and suddenly, your product isn’t just an object; it’s a story waiting to be told. The magic lies in the details: the way light catches the edge of a ceramic mug, the way shadows play across the surface of a polished stone. These are the moments that elevate your shot from amateur to artful.
Post-Processing: Polishing Your Faux-Studio Masterpiece
Even the most meticulously crafted image can benefit from a touch of post-processing magic. Editing software like Adobe Lightroom or free tools like GIMP and Canva offer a treasure trove of tools to refine your shot. Start with basic adjustments: crop to improve composition, tweak the exposure to balance highlights and shadows, and adjust the white balance to ensure colors appear true to life. For a more dramatic look, play with contrast and clarity to add depth, or use the dodge and burn tools to selectively brighten or darken areas of your image.
But beware the siren call of over-editing. The goal isn’t to create an image that looks artificial but one that feels intentional. Subtle adjustments—like reducing noise in low-light shots or sharpening edges to draw the eye—can make a world of difference without tipping the viewer off to your DIY origins. And don’t forget the power of presets. Many photographers share their custom presets online, offering a starting point for your edits that can save time and inspire creativity. The beauty of post-processing is that it’s your playground; experiment, iterate, and trust your instincts.
Beyond the Frame: Storytelling in a Studio-Less World
The final frontier of faking a studio shot isn’t technical—it’s narrative. A studio environment is sterile by design, but the most compelling images tell a story. Think beyond the confines of a blank backdrop and consider how your setting can enhance the mood. A cozy corner of a café, a sun-drenched garden, or even a dimly lit alleyway can serve as the backdrop for a narrative-driven shot. The key is to choose a location that complements your subject and reinforces the story you want to tell.
For portraits, consider the environment as an extension of your subject’s personality. A musician might be framed against a wall of vintage posters, while an entrepreneur could be shot in a cluttered workspace that speaks to their hustle. The studio aesthetic isn’t about erasing context; it’s about curating it. By thoughtfully selecting your setting, you create a visual language that resonates with viewers, making your images feel authentic and immersive.
The art of faking a studio shot without a studio is, at its core, a celebration of resourcefulness. It’s a testament to the idea that creativity thrives in constraints, and that beauty can be found in the most unexpected places. Whether you’re crafting a minimalist portrait in a sunlit room or staging a product shot against a painted foam board, the tools of the trade are already within your reach. All you need is a willingness to see the world through a lens of possibility—and the courage to press the shutter button.
So go ahead. Turn your living room into a stage, your desk lamp into a spotlight, and your smartphone into a powerhouse of visual storytelling. The studio is wherever you make it—and the results? They might just surprise you.


Leave a Comment