

Have you ever poured your heart into a masterpiece—only to watch it crumble like a stale cookie the moment you set it down? One minute it’s vibrant, alive, the next it’s a smudged, dust-attracting disaster. What if I told you there’s a silent guardian, a guardian that could have saved your artwork from its untimely demise? Enter: fixative sprays. These unsung heroes of the art world are the difference between a fleeting sketch and a timeless treasure. But not all fixatives are created equal. Some leave your work stiff as a mannequin. Others yellow your paper like an old newspaper left in the sun. And a few? Well, they just don’t work at all. So, how do you choose the right one? Buckle up. We’re about to dive deep into the world of fixative sprays—where art meets science, and your masterpiece gets the protection it deserves.
Why Your Artwork Might Be One Breeze Away from Oblivion
Imagine this: You’ve just spent hours meticulously layering watercolors, blending pastels, or sketching in charcoal. The colors are rich. The details are crisp. You step back, admiring your creation—only to sneeze. Or worse, a gust of wind blows through your studio. Suddenly, your entire piece is a smudged, smeared mess. Sound familiar? That’s the cruel reality of unprotected artwork. Without a fixative, your art is vulnerable to the whims of the environment: dust, humidity, accidental touches, and even the oils from your own fingers. Fixative sprays act as a shield, locking in your work so it can stand the test of time—and clumsy elbows.
But here’s the twist: not all art is created equal. A delicate charcoal drawing demands a different kind of protection than a bold, ink-heavy illustration. Watercolors? They’re a whole other beast. The wrong fixative can leave your piece looking dull, sticky, or worse—discolored. So, before you spray blindly, let’s break down the types of fixatives and what they’re best suited for.
The Three Fixative Flavors: Which One is Your Art’s Soulmate?
Fixatives aren’t a one-size-fits-all solution. Think of them as the personality types of the art world—each with its own quirks, strengths, and occasional dealbreakers. Here are the three main categories you’ll encounter:
1. Workable Fixatives: The Chameleons of the Art World
Workable fixatives are the artists’ best friend when perfectionism strikes. Unlike their final counterparts, these sprays allow you to keep working on your piece after application. That’s right—you can layer, blend, and adjust your work even after spraying. They’re like a temporary truce, giving your art a moment to breathe while you refine it further. Brands like Grumbacher Final & Workable Fixative are beloved for this very reason. They dry quickly, don’t yellow over time, and leave your paper ready for more magic. Perfect for artists who like to tweak, erase, and perfect until every detail is just right.
But beware: workable fixatives aren’t invincible. They’re more delicate than final fixatives, so they won’t offer the same long-term protection. Think of them as the rehearsal dinner before the big wedding—important, but not the main event.
2. Final Fixatives: The Unyielding Protectors
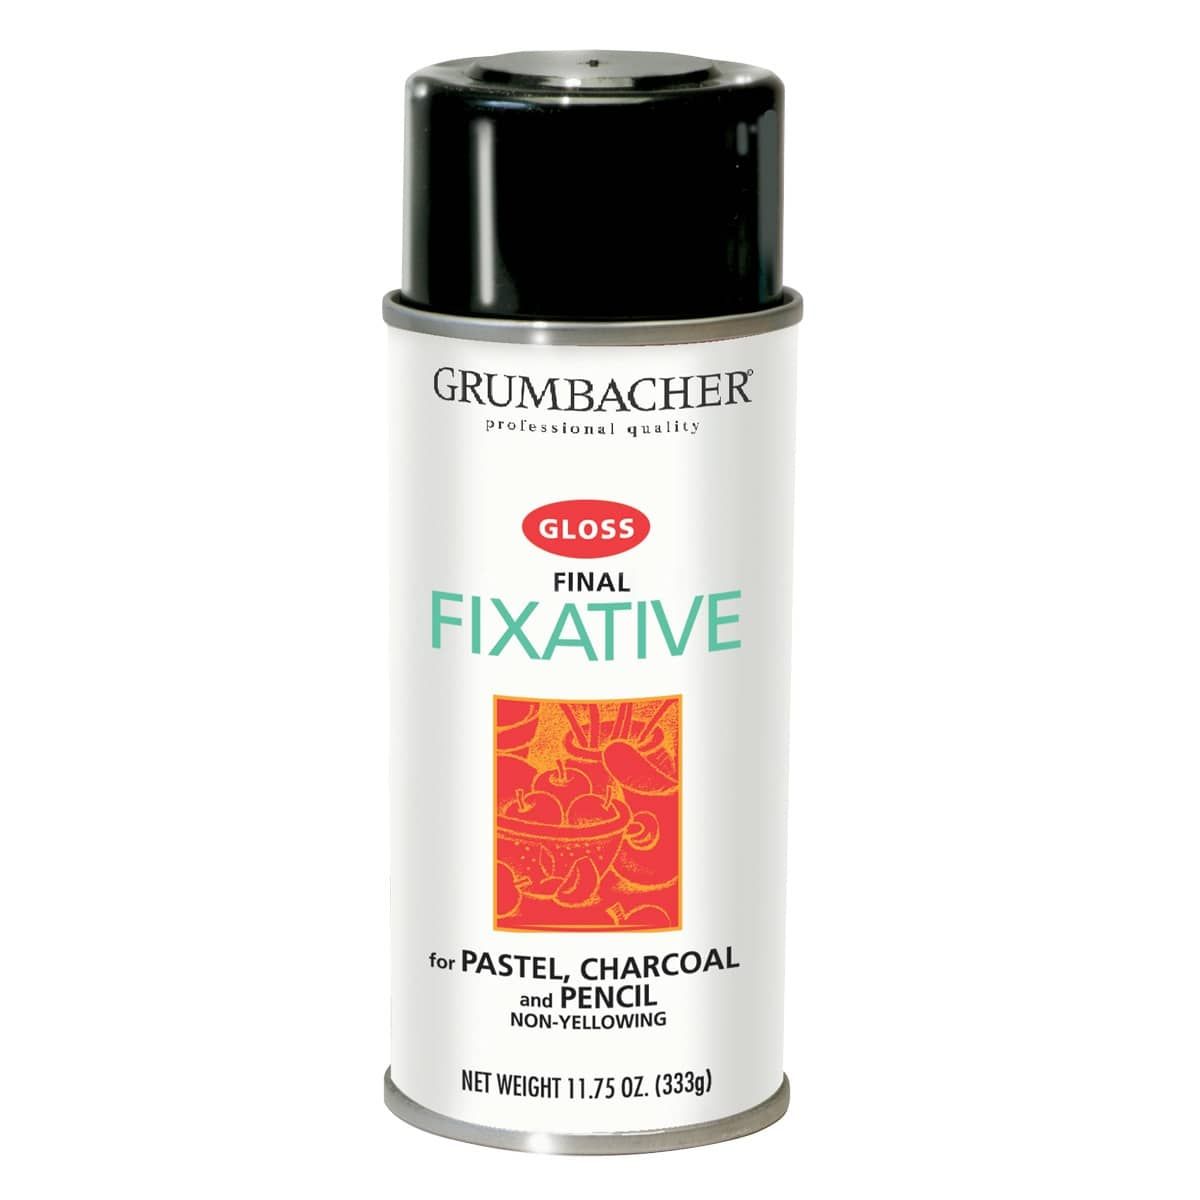
When your artwork is finally complete, and you’re ready to let it stand on its own, final fixatives step in as the ultimate bodyguards. These sprays create a hard, durable layer that locks your art in place, shielding it from dust, moisture, and accidental smudges. They’re the go-to for charcoal, pastel, and pencil artists who need their work to stay put. Products like Winsor & Newton Professional Fixative are industry standards for a reason—they’re reliable, non-yellowing, and designed to preserve your art for decades.
However, final fixatives come with a caveat: once applied, your artwork is set in stone. No more blending, no more erasing. It’s a one-way ticket to permanence. So, unless you’re absolutely sure your piece is finished, resist the urge to spray. You’ve been warned.
3. Retouch Fixatives: The Quick-Fix Heroes
Sometimes, you don’t need a full-blown armor for your art—just a little reinforcement to keep it from smudging while you work. Enter retouch fixatives. These lightweight sprays are designed to be used mid-process, offering a temporary hold that keeps your layers from blending unintentionally. They’re ideal for artists who work in stages, like oil painters or those using multiple mediums. Retouch fixatives dry fast and don’t leave a heavy residue, making them perfect for quick touch-ups between layers.
But don’t expect them to replace a final fixative. They’re more like a band-aid than a cast. Use them wisely, and they’ll save your artwork from mid-process disasters.
The Great Fixative Myth: Debunking Common Misconceptions
Fixatives have been shrouded in myths and misunderstandings for decades. Let’s set the record straight.
Myth #1: “Fixatives will make my art look plastic or dull.”
Truth: While it’s true that some older fixatives had a tendency to leave a glossy or stiff finish, modern formulations are designed to preserve your art’s natural appearance. High-quality fixatives, like those from Grumbacher or Winsor & Newton, are formulated to dry clear and non-yellowing. The key is to spray in thin, even layers. Think of it like frosting a cake—too much, and it’s a mess. Just enough, and it’s perfection.
Myth #2: “I can use hairspray as a fixative.”
Truth: Please, for the love of all things artistic, don’t do this. Hairspray contains additives like polymers and fragrances that can yellow your paper, leave a sticky residue, or even react with your medium over time. It’s a shortcut that leads to a dead end. Invest in a proper fixative. Your future self will thank you.
Myth #3: “Fixatives are only for professionals.”
Truth: Fixatives are for anyone who wants their art to last. Whether you’re a beginner doodling in a sketchbook or a seasoned pro creating gallery-worthy pieces, fixatives are your secret weapon. They’re affordable, easy to use, and can save you from heartbreak when your toddler decides your masterpiece is a canvas for finger-painting.
Mastering the Art of Fixative Application: A Step-by-Step Guide
Now that you’ve chosen your fixative, it’s time to apply it like a pro. But spraying isn’t as simple as waving a can around and hoping for the best. Here’s how to do it right:
Step 1: Prep Your Space (and Your Art)
Before you even think about spraying, ensure your workspace is well-ventilated. Fixatives contain fumes that can be overwhelming in enclosed spaces. Open a window, turn on a fan, or step outside if you’re working in a small room. Next, lay your artwork flat on a clean, stable surface. If you’re working vertically, prop it up against a wall or easel—but be prepared for drips. Pro tip: Place a sheet of scrap paper underneath to catch any overspray.
Step 2: Shake, Don’t Stir (Your Fixative Can)
Most fixative sprays need a good shake before use to mix the ingredients properly. Hold the can about 10–12 inches away from your artwork and test the spray on a scrap piece of paper first. This ensures the nozzle isn’t clogged and the spray pattern is even. You want a fine mist, not a drenching downpour. Think of it like snowfall—gentle and even, not a blizzard.
Step 3: The Art of the Spray
Start spraying in a smooth, sweeping motion, moving from one side of the artwork to the other. Overlapping strokes slightly ensures full coverage without puddling. Avoid spraying too close—this can cause drips or uneven texture. If you’re working with a final fixative, one light coat is often enough. For workable fixatives, you might need two or three thin layers, allowing each to dry completely in between. Patience is key here. Rushing leads to regret.
Step 4: Let It Breathe
After spraying, resist the urge to touch your artwork immediately. Give it time to dry fully—usually 15 to 30 minutes, depending on the humidity and temperature. Place it in a dust-free area, away from direct sunlight or heat sources. Once dry, your art is ready to face the world—or at least your next art session.
When Fixatives Fail: Troubleshooting Common Issues
Even the best-laid plans can go awry. Here’s what to do when your fixative doesn’t live up to the hype:
Problem: Yellowing or Discoloration
If your artwork starts to yellow after spraying, it’s likely due to a low-quality fixative or excessive application. Older fixatives, especially those containing shellac, are notorious for this. Switch to a non-yellowing formula like those from Grumbacher or Winsor & Newton. If the damage is already done, consult a professional art conservator for advice on restoration.
Problem: Sticky Residue
A sticky surface after spraying usually means you’ve overdone it. Fixatives are meant to be applied in thin layers. If your artwork feels tacky, try blotting it gently with a clean, dry cloth. In severe cases, you may need to remove the fixative entirely with a solvent like odorless mineral spirits (for oil-based fixatives) or water (for water-based ones). Always test solvents on a small, hidden area first.
Problem: Uneven Coverage
If your fixative left streaks or bare spots, you probably didn’t spray evenly. Next time, use a light hand and build up layers gradually. For stubborn areas, a second coat can help, but be sure to let the first layer dry completely. If the issue persists, your fixative might be expired or clogged. Check the can’s expiration date and clean the nozzle with rubbing alcohol if necessary.
Beyond the Basics: Advanced Fixative Techniques
Ready to level up your fixative game? Here are a few pro tips to take your artwork’s protection to the next level:
Layering for Depth and Texture
For artists who love texture—think impasto oil paints or heavily applied pastels—layering fixative between applications can add depth and prevent cracking. Apply a light coat of fixative after each layer of paint or pastel, allowing it to dry before adding more. This technique not only preserves your work but also enhances its dimensional quality. Just be sure to use a workable fixative to maintain the ability to blend.
Combining Mediums? Fixative is Your Bridge
Working with mixed media? Fixatives can act as a bridge between incompatible materials. For example, if you’re layering watercolor over ink, a light spray of fixative on the ink layer can prevent bleeding when you apply the watercolor. Similarly, fixatives can help adhere loose particles in collage work. Always test compatibility first to avoid unwanted reactions.
Archival-Grade Fixatives for the Long Haul
If you’re creating art intended to last generations, invest in archival-grade fixatives. These are formulated to resist yellowing, cracking, and deterioration over time. Brands like Lascaux and Gamvar offer high-end options that meet museum standards. While they’re pricier, they’re worth it for artists who want their legacy to endure.
The Final Brushstroke: Why Fixatives Are Non-Negotiable
At the end of the day, art isn’t just about creation—it’s about preservation. Your masterpiece deserves to outlive the moment it was made. Fixative sprays are the unsung heroes that make that possible. They’re the difference between a fleeting experiment and a legacy. They’re the shield that guards your art from the chaos of the world. And when chosen and applied correctly, they’re invisible—doing their job without drawing attention to themselves.
So, the next time you’re tempted to skip the spray, ask yourself: Do I want my art to be a memory or a masterpiece? The choice is yours. But with the right fixative in hand, your art will stand tall, vibrant, and unshaken—for years to come.


Leave a Comment