

Ever stood in a room bathed in the wrong light and felt your mood shift like a mood ring in a microwave? Lighting isn’t just about visibility—it’s a silent puppeteer, tugging at your emotions with the subtlety of a stagehand in the wings. But what if you could wield this power deliberately? What if lighting angles weren’t just accidental strokes of design but deliberate brushstrokes on the canvas of atmosphere? Enter the McCandless Method, a lighting philosophy that turns ordinary spaces into emotional landscapes. Today, we’re flipping the switch on 10 lighting angles that don’t just illuminate—they transform.
The McCandless Method: A Lighting Revolution in Three Acts
Imagine a stage where light isn’t just a tool but a character. Stanley McCandless, the father of modern stage lighting, didn’t just illuminate scenes—he choreographed them. His method isn’t about brute force; it’s about harmony. Think of it as the difference between shouting in a room and whispering a secret. The McCandless Method relies on three key angles: key light, fill light, and backlight. Together, they sculpt depth, mood, and drama. But here’s the twist: these angles aren’t static. They’re malleable, adaptable, and—when wielded right—revolutionary.
Angle #1: The Front Light—Your Mood’s First Impression
Walk into a room flooded with front light, and suddenly, every wrinkle, every blemish, every imperfection is on display. This angle is the blunt instrument of lighting—it leaves nothing to the imagination. But here’s the paradox: while it can feel clinical, it’s also the angle of clarity. Use it when you want to strip away ambiguity. A front light in a conference room ensures no one misses a slide. In a portrait, it flattens features, creating a stark, almost sculptural effect. The challenge? It can feel sterile. Counteract this by softening the light with diffusers or bouncing it off a nearby wall to diffuse its intensity.
Angle #2: The Side Light—Drama in Half-Tones
Now, tilt that light to the side. Suddenly, your subject isn’t just illuminated—they’re *revealed*. Side lighting is the storyteller’s angle, carving out contours and casting half the face into shadow. It’s the lighting equivalent of a noir detective’s trench coat: mysterious, dramatic, and impossible to ignore. This angle thrives in portrait photography, where it can emphasize cheekbones or create a sultry, asymmetrical glow. But beware—it’s a double-edged sword. Overdo it, and you’ll flatten your subject into a silhouette. The fix? Balance it with a subtle fill light or let the shadows tell their own story.
Angle #3: The Backlight—The Halo Effect
Turn your light source behind your subject, and watch as they become a silhouette wreathed in a soft glow. Backlighting isn’t just about separation—it’s about transcendence. It’s the angle that turns an ordinary person into a figure of intrigue, as if they’re stepping out of a dream. This is the magic behind those ethereal wedding photos where the bride’s veil seems to shimmer. But here’s the catch: without proper exposure, your subject can disappear into the darkness. The solution? Use a reflector or a secondary light to gently illuminate their face, ensuring they remain the star of the show.
Angle #4: The Rembrandt Light—The Painter’s Secret
Named after the Dutch master who perfected chiaroscuro, the Rembrandt light is the angle of subtlety and depth. It’s achieved by positioning the key light at a 45-degree angle to the subject, creating a small, triangular highlight on the cheek opposite the light. This angle doesn’t just illuminate—it *paints*. It’s the lighting choice of portrait photographers and filmmakers who want to evoke warmth and intimacy. The challenge? It requires precision. Too high, and the triangle vanishes. Too low, and the effect collapses into a flat, uninspired glow. Mastering this angle is like learning to wield a brush—it takes practice, but the results are timeless.
Angle #5: The Broad Light—The Illusion of Space
Ever walked into a room and felt it shrink around you? Broad lighting is the antidote. By lighting the side of the face closest to the camera, you create the illusion of width and openness. This angle is a favorite in real estate photography, where the goal is to make rooms feel expansive. But its magic isn’t limited to architecture. In portraits, broad lighting can make a subject appear more approachable, their features softened by the gentle gradient of light. The key? Keep the light source close to the subject to avoid harsh shadows that could undermine the effect.
Angle #6: The Short Light—The Drama of Shadows
Flip the script with short lighting. Here, the key light illuminates the side of the face furthest from the camera, creating a shadow that wraps around the features like a cloak. This angle is the lighting equivalent of a whispered secret—it adds mystery and depth. It’s the go-to for moody portraits and dramatic portraits where the subject’s gaze feels intense, almost confrontational. But be cautious: short lighting can feel oppressive if overused. Balance it with a fill light or let the shadows breathe to avoid overwhelming the scene.
Angle #7: The Top Light—The Unforgiving Glare
Light from above isn’t just harsh—it’s a revelation. Top lighting flattens features, accentuating the eyes and casting deep shadows under the brows and nose. It’s the angle of interrogation rooms and high-fashion shoots, where drama is king. But here’s the rub: it’s unforgiving. Use it sparingly, and only when you want to create a sense of tension or intensity. To soften its impact, diffuse the light or bounce it off a ceiling to create a more flattering, diffused glow.
Angle #8: The Underlight—The Uncanny Valley
Flip a light source below your subject, and suddenly, the familiar becomes unsettling. Underlighting is the angle of horror movies and surreal art, where faces take on a ghostly, otherworldly quality. It’s not an angle for the faint of heart—it’s meant to unsettle, to challenge perceptions. But when used intentionally, it can create striking, memorable images. The trick? Keep the light source close to the subject to avoid creating a harsh, unnatural glow. And always have a clear purpose—this angle isn’t for subtlety.
Angle #9: The Rim Light—The Glow of Separation
Position your light behind and slightly above your subject, and watch as a thin, luminous outline forms around their edges. Rim lighting is the angle of separation, the light that says, “This is not just a subject—it’s a presence.” It’s the magic behind those cinematic shots where characters seem to glow from within. But achieving this effect requires precision. The light must be bright enough to create a distinct rim but not so intense that it washes out the subject. Use a flag or a barn door to control the spill and keep the effect clean and intentional.
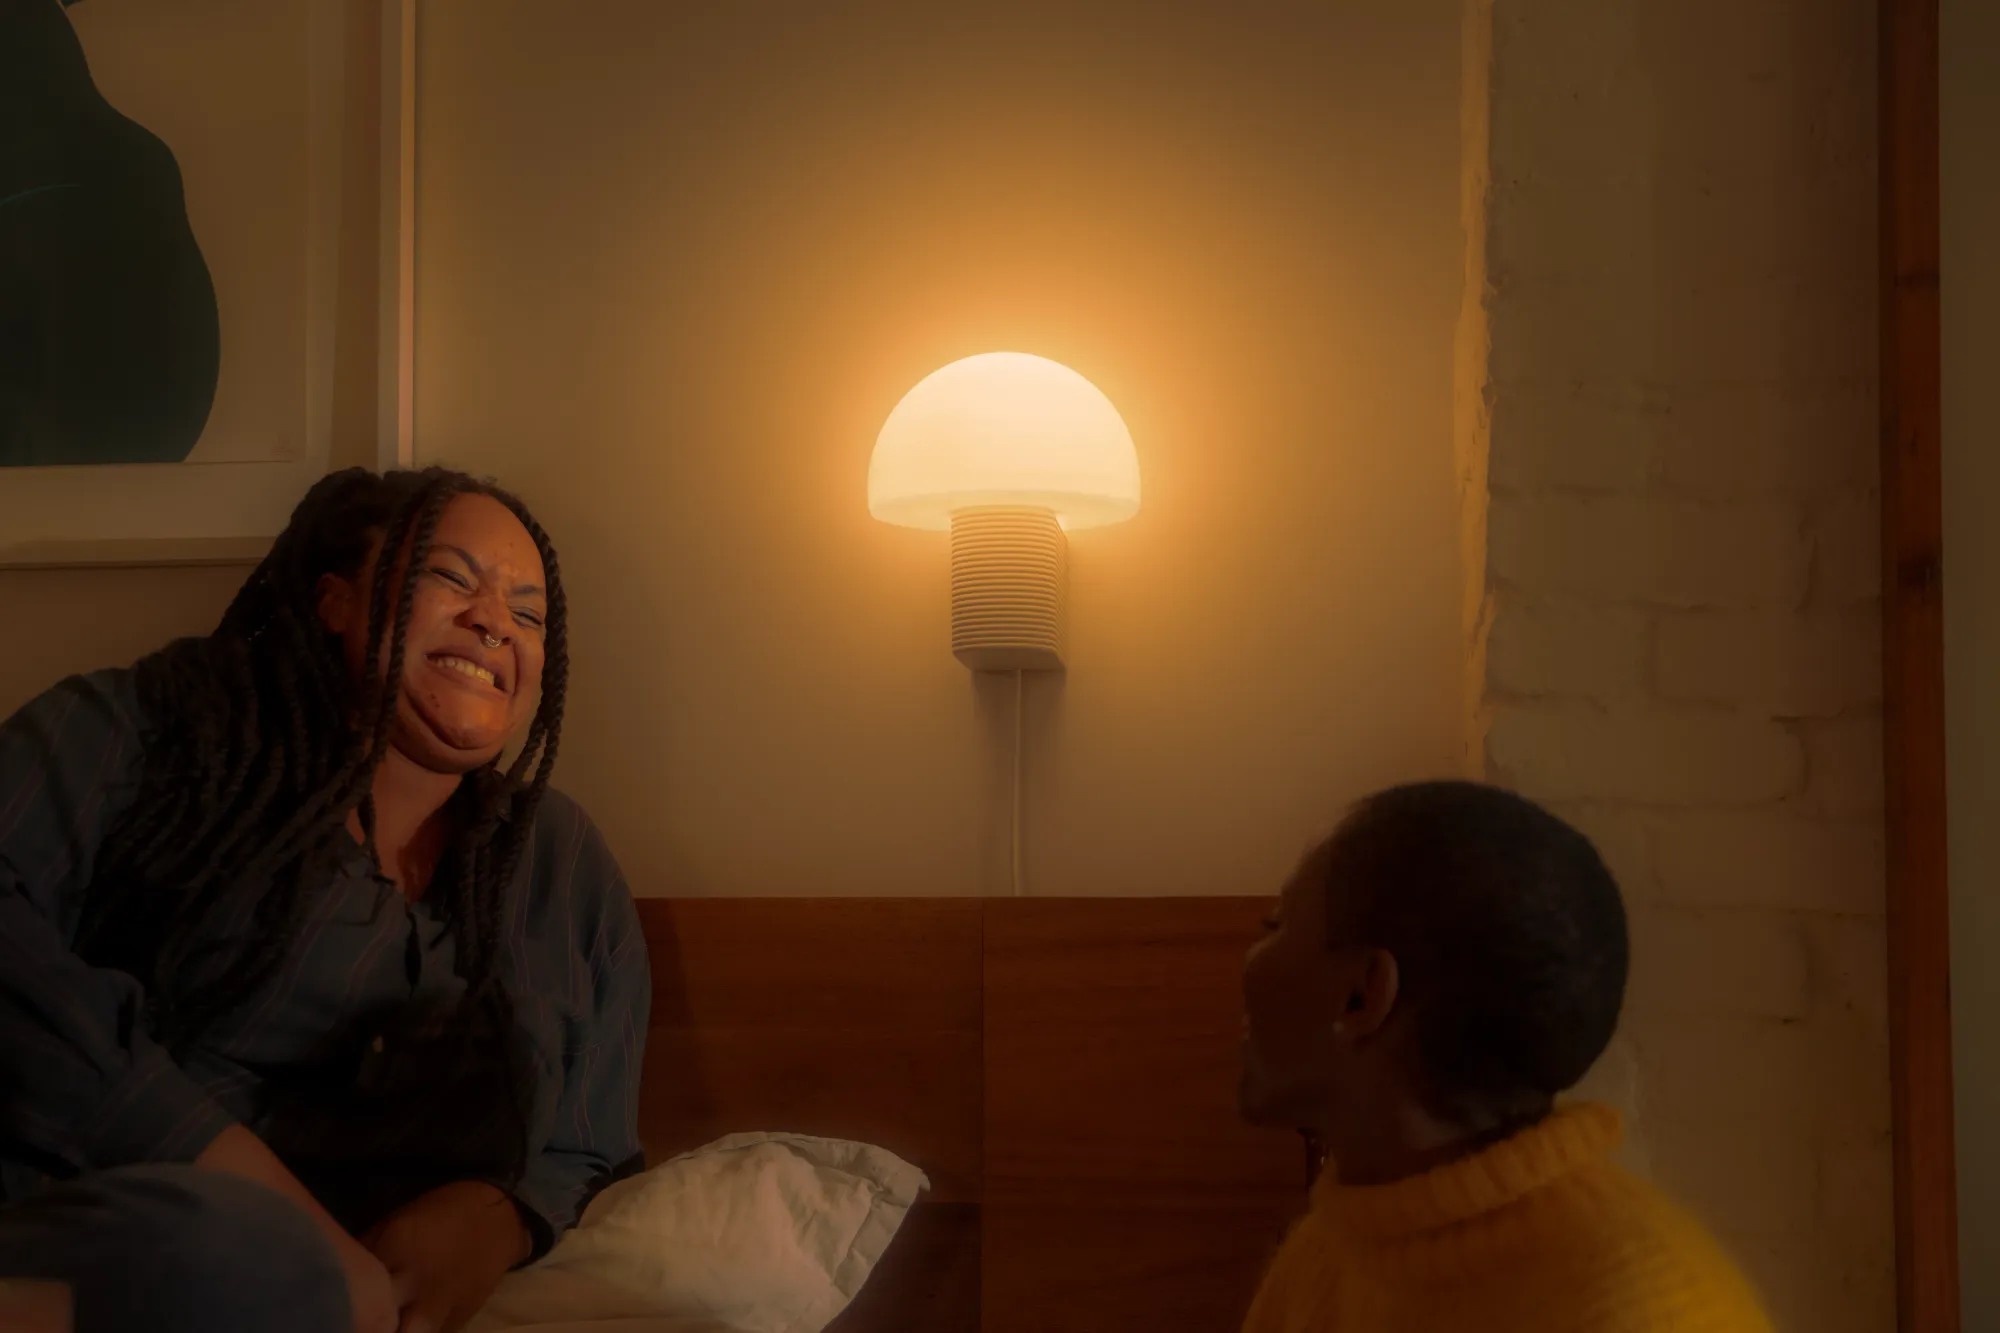
Angle #10: The Ambient Glow—The Subtle Symphony
Not all lighting angles are about precision—they’re about atmosphere. Ambient glow is the angle of soft, diffused light that wraps around a space like a warm embrace. It’s the light of a cozy café or a candlelit dinner, where the source is hidden, and the effect is all-encompassing. This angle isn’t about drama; it’s about comfort. It’s achieved by bouncing light off walls or ceilings, creating a gentle, even illumination that feels natural. The challenge? It requires patience. Rushing this angle can lead to uneven lighting or a flat, uninspired glow. But when done right, it’s the difference between a room and a sanctuary.
Lighting isn’t just about seeing—it’s about feeling. The McCandless Method isn’t a set of rules; it’s a palette of possibilities. Each angle is a brushstroke, a note in a symphony, a step in a dance. The next time you flip a switch, ask yourself: What mood am I painting? What story am I telling? And most importantly—what shadows am I leaving behind?


Leave a Comment