

Imagine standing in an empty gallery, the air humming with potential, the walls waiting to cradle stories yet untold. You have a vision—perhaps a solo exhibition of avant-garde sculptures or a rotating display of local artists—but the space feels like a blank canvas, overwhelming in its potential. What if I told you that in just 10 minutes, you could sketch a floor plan so intuitive, so adaptable, that it transforms chaos into clarity? This isn’t about architectural precision; it’s about unlocking the hidden rhythm of a space, where every corner whispers its purpose.
Most floor plans fail because they’re designed for architects, not for the restless creativity of curators, artists, or dreamers. They’re rigid, over-engineered, and often require a degree in spatial planning to decipher. But what if you could strip away the jargon and distill the essence of a gallery into a sketch so simple, it feels like second nature? That’s the power of the 10-minute gallery floor plan—a tool that doesn’t just map space but choreographs movement, emotion, and experience. Let’s dive into how you can create one that works every time, no matter the size or shape of your canvas.
The Philosophy of the Minimalist Blueprint
Before you even pick up a pencil, you must adopt a mindset shift: a gallery isn’t just walls and doors; it’s a living organism where art breathes and visitors wander. The minimalist blueprint isn’t about omission—it’s about distillation. Every line you draw should serve a purpose, whether it’s guiding a viewer’s gaze, creating breathing room for a centerpiece, or ensuring seamless flow between exhibits. Think of it as a haiku for space: concise, evocative, and open to interpretation.
Start by asking yourself: What’s the core experience I want to evoke? Is it intimacy, grandeur, or a labyrinthine journey? Your floor plan should reflect that intention. For instance, a gallery showcasing large-scale installations might prioritize open sightlines, while a collection of delicate watercolors could benefit from cozy alcoves. The minimalist approach forces you to confront these questions head-on, leaving no room for half-baked compromises.
Tools of the Trade: What You Need (and What You Don’t)
You don’t need a drafting table, a T-square, or even a ruler. All you need is a single sheet of paper, a pencil, and an eraser—preferably one that doesn’t smudge. If you’re feeling fancy, a fine-tip marker can help define key pathways, but the magic lies in the imperfection. A wobbly line here, a slightly crooked rectangle there—these quirks add character, reminding you that this is a living sketch, not a CAD file.
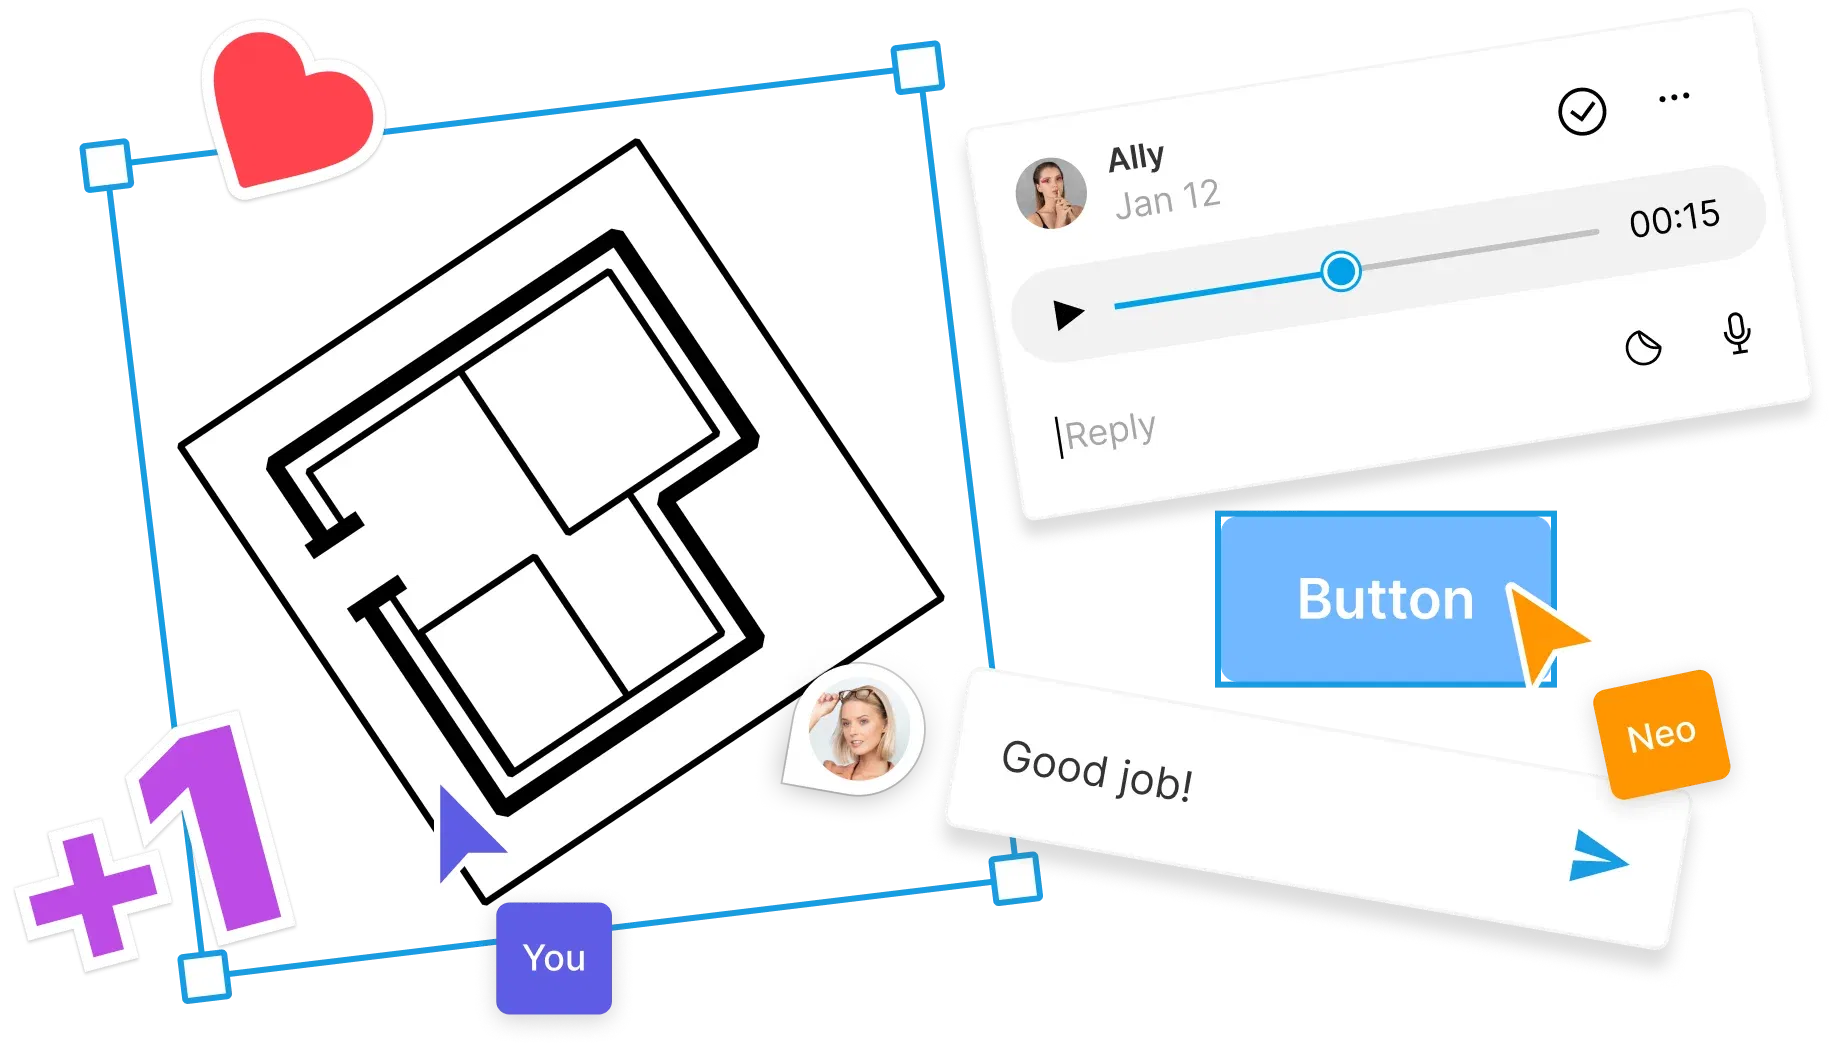
If you’re digitally inclined, apps like Floorplanner or even a simple sketching tool on your tablet can replicate this organic feel. The key is to avoid the trap of perfection. The goal isn’t to create a polished render but to capture the essence of movement and interaction. Think of it as a jazz improvisation—structured yet free, where the rules exist to serve the music, not constrain it.
Step 1: The Sacred Perimeter
Begin by outlining the gallery’s boundaries. Don’t worry about scale yet—just capture the shape. Is it a rectangle? A zigzag? A room with an awkward jut? Sketch it lightly, as if you’re tracing the outline of a shadow. This perimeter is your foundation, the stage upon which all other elements will perform.
Now, mark the immovable fixtures: doors, windows, columns, and any structural quirks. These are your anchors. If a door swings inward, note its arc. If a column juts into the space like an uninvited guest, acknowledge it. These details aren’t obstacles; they’re opportunities to work with the space, not against it. A column, for example, could become a focal point for a sculpture, or a window could frame a natural tableau for a painting.
Step 2: The Flow of the Crowd
Visitors aren’t static; they move, pause, and meander. Your floor plan must anticipate these rhythms. Start by drawing a single, unbroken line that traces the most logical path through the space. This isn’t about forcing a route but about identifying the gravitational pull of the gallery. Where do people naturally want to go? Where do they pause to admire a piece?
Now, introduce subtle detours. A slight bend in the path can create intrigue, leading viewers toward a hidden alcove or a dramatic reveal. Think of it like a river carving its way through a landscape—sometimes it meanders, sometimes it rushes, but it always flows toward something. Avoid dead ends unless they serve a purpose, like a quiet corner for reflection or a multimedia installation that demands solitude.
Step 3: The Art of Negative Space
In gallery design, negative space isn’t emptiness; it’s breathing room. It’s the pause between musical notes, the silence that makes the symphony sing. When sketching your floor plan, leave gaps—areas where art can breathe and viewers can step back to absorb the whole. These spaces aren’t wasted; they’re intentional.
Consider the golden ratio, a principle that’s as old as the Parthenon but just as relevant today. Divide your gallery into sections where the ratio of open space to occupied space follows a harmonious pattern. For example, if a wall is 10 feet long, the optimal distance between artworks might be 3.8 feet (10 divided by the golden ratio, approximately 1.618). This isn’t a hard rule, but it’s a starting point for creating visual balance.
Step 4: The Power of Zones
Every gallery has zones—areas with distinct purposes. There’s the entrance, where first impressions are made; the main hall, where the bulk of the exhibition lives; the transition spaces, where viewers pause to orient themselves; and the exit, where lingering thoughts can crystallize. Your floor plan should reflect these zones, even if they’re not explicitly labeled.
For the entrance, consider a welcoming gesture—a bench, a small sculpture, or a wall text that sets the tone. The main hall should be the heart of the experience, with art arranged to create a narrative arc. Transition spaces, like corridors or alcoves, can host smaller pieces or interactive elements. The exit, often overlooked, is your last chance to leave an impression—perhaps with a final, striking artwork or a thought-provoking quote.
Step 5: The Illusion of Scale
Scale is the silent killer of many a floor plan. A piece that looks perfect on paper might overwhelm a room in reality, or a sculpture that seems modest could dwarf its surroundings. To avoid this, use a simple trick: measure your largest piece and sketch it first. Then, add the rest of the artworks relative to it. If a painting is 4 feet tall, and your gallery is 20 feet wide, it should occupy roughly 20% of the wall space.
Don’t forget to account for viewer comfort. The ideal viewing distance for a painting is about 1.5 times its diagonal measurement. For a 3-foot-wide painting, that’s roughly 4.5 feet. Leave room for people to step back without bumping into walls or each other. And always consider the sightlines—will a visitor’s view be blocked by a column or another artwork?
Step 6: The Final Flourish
Now that the bones of your floor plan are in place, it’s time to add the flourishes—the details that bring it to life. Annotations are your friends. Jot down notes like “soft lighting here” or “consider a bench for this corner.” These aren’t just reminders; they’re invitations to think beyond the sketch.
Think about the sensory experience. Where will the scent of a sculpture’s material linger? Where will the hum of a video installation draw viewers in? Where will the natural light create a dramatic effect at a certain time of day? These elements aren’t part of the floor plan itself, but they’re integral to the gallery’s magic.
Finally, step back and ask yourself: Does this feel right? Walk through the sketch in your mind. Can you imagine the flow? The pauses? The surprises? If something feels off, erase and redraw. This is your space, your vision—there’s no wrong way to do it.
As you stand back, the gallery is no longer a blank canvas but a stage set for a story. The 10-minute sketch has done its job: it’s given you a roadmap, a starting point, a conversation between you and the space. Now, it’s time to bring it to life.
The next time you find yourself in an empty room, staring at four walls and a door, remember this: the perfect floor plan isn’t the one that’s most precise, but the one that’s most alive. It’s a living document, a dance between intention and serendipity. And the best part? You don’t need a degree to create it. All you need is a pencil, a little courage, and the willingness to let the space speak back to you.


Leave a Comment