

Imagine a world where fluidity meets artistry, where vibrant colors dance across a canvas without a single brushstroke. This isn’t magic—it’s acrylic pouring, a mesmerizing technique that transforms chaos into harmony with a few simple steps. If you’ve ever hesitated to dive into the world of fluid art because of silicone or complex tools, prepare to have your perspective shattered. This guide isn’t just another tutorial; it’s an invitation to redefine what’s possible with just a handful of materials and a willingness to embrace the unexpected.
Acrylic pouring, at its core, is the art of letting gravity and chemistry do the heavy lifting. Unlike traditional painting, where control is paramount, pouring thrives on unpredictability. The colors blend, swirl, and collide in ways that defy logic, creating organic patterns that feel alive. And here’s the best part: you don’t need silicone to achieve breathtaking results. By the end of this journey, you’ll see acrylic pouring not as a daunting challenge, but as a liberating escape from the rigid confines of conventional art.
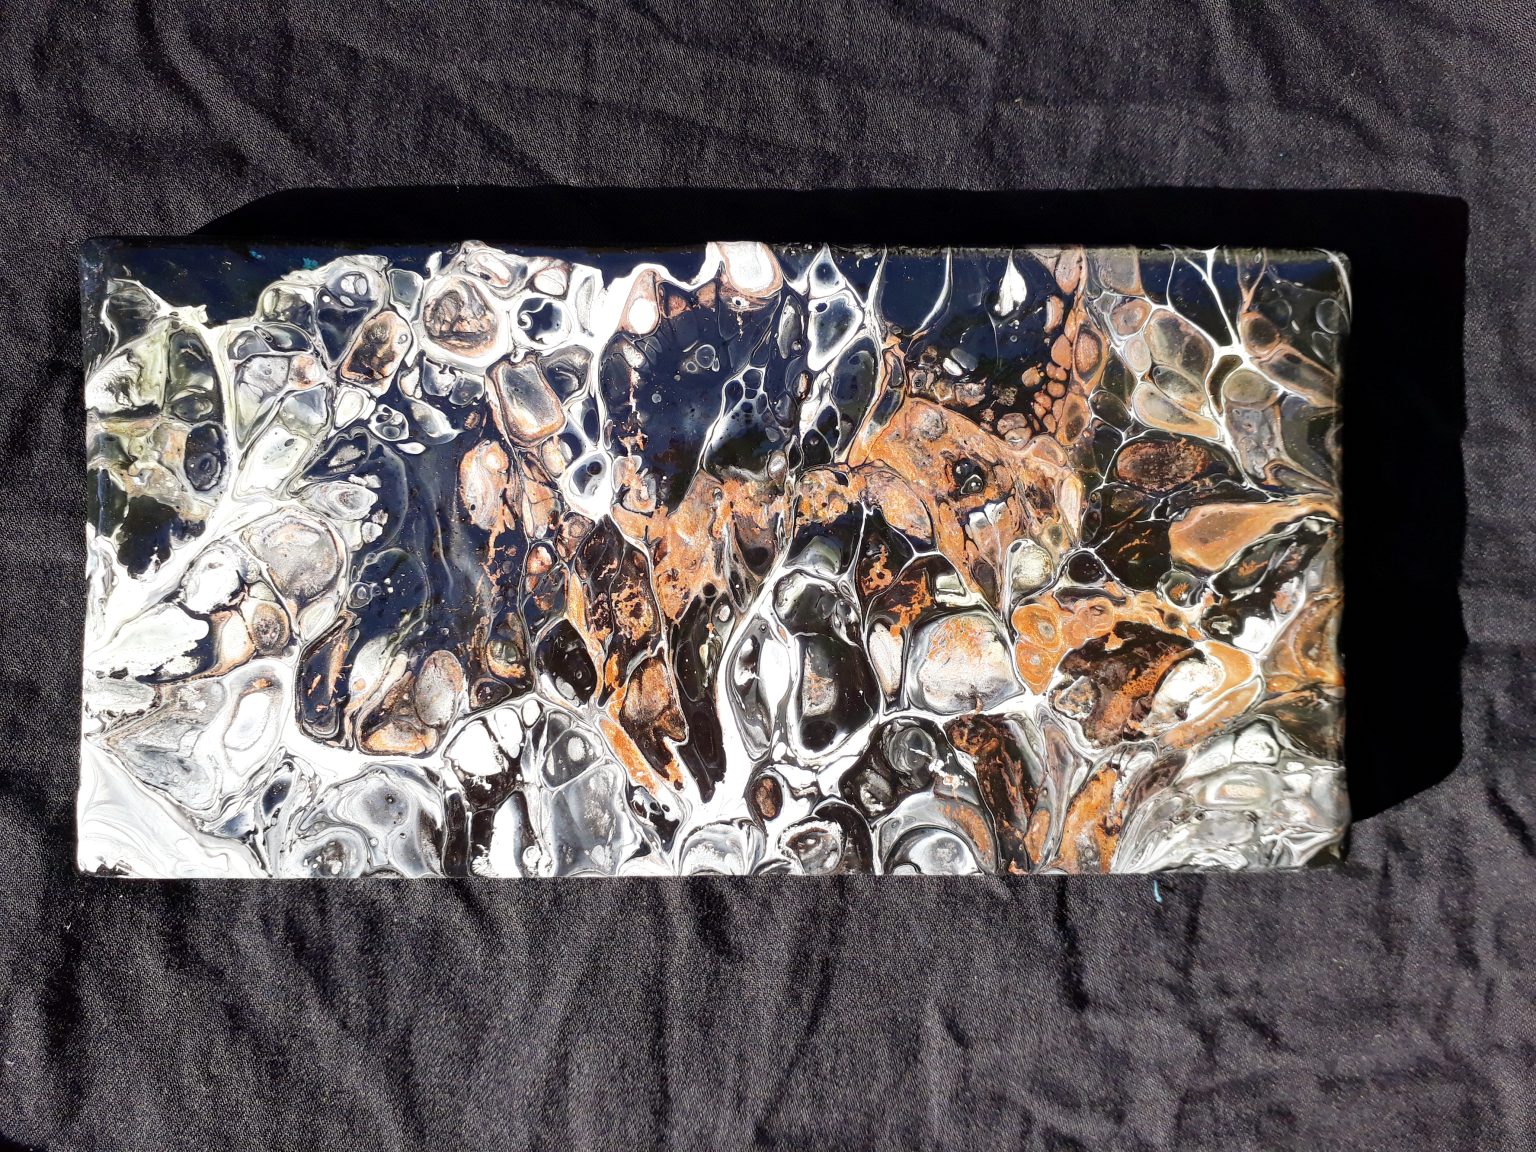
The Alchemy of Acrylic Pouring: Why It Feels Like Magic
At first glance, acrylic pouring might seem like a modern marvel, but its roots trace back to ancient techniques where artists harnessed the flow of materials to create texture and depth. Today, the process is distilled into a few key ingredients: acrylic paints, a pouring medium, and a canvas. The magic lies in the chemistry. When you mix acrylic paint with a pouring medium, you’re not just thinning the paint—you’re altering its viscosity, allowing it to glide and merge with other colors in a way that mimics natural phenomena like oil slicks or marble veins.
But why does this feel so revolutionary? Because it flips the script on creativity. Instead of meticulously layering colors, you’re surrendering to the process, trusting that the paints will find their own equilibrium. It’s a humbling experience, one that teaches patience and adaptability. And when you witness the first tendrils of color stretching across the canvas, it’s as if you’ve unlocked a secret language of the universe—one where art and science intertwine.
The Minimalist’s Guide: Materials That Defy Expectations
Forget the intimidating aisles of art supply stores lined with silicone oils, flow improvers, and specialty tools. Acrylic pouring can be stripped down to its bare essentials without sacrificing quality. Here’s what you truly need to get started:
- Acrylic Paints: While professional-grade paints yield richer results, student-grade paints work beautifully for beginners. Start with a palette of 3-5 colors that excite you.
- Pouring Medium: This is the unsung hero of the process. A good pouring medium thins the paint without compromising its vibrancy, ensuring smooth, glossy finishes. Brands like Liquitex or Golden are reliable choices.
- Cups and Stirring Tools: Disposable plastic cups are perfect for mixing paints. Use popsicle sticks or silicone spatulas to stir—avoid metal, which can react with the medium.
- Water and Paper Towels: For cleanup and adjusting consistency. A spray bottle with water can also help revive dried paints.
Canvas or Surface: Stretched canvases are ideal, but even a smooth wooden panel or thick paper can work. The key is ensuring the surface is level to prevent unwanted pooling.
The beauty of this list? It’s affordable, accessible, and adaptable. You don’t need a studio filled with gadgets—just a table, a few supplies, and a willingness to experiment. The less you overcomplicate it, the more the process will surprise you.

Mastering the Pour: Techniques That Feel Like Second Nature
Now that you’re equipped, it’s time to dive into the heart of acrylic pouring. The techniques are as varied as the artists who use them, but a few foundational methods will set you on the right path. Let’s explore the most beginner-friendly approaches:
The Dirty Pour: Chaos with Control
The dirty pour is where the magic truly begins. It’s a technique that embraces controlled chaos, where layers of paint are stacked in a cup and poured onto the canvas in one fluid motion. Here’s how to do it:
- Layer the Colors: In a single cup, alternate layers of your chosen colors. For a classic dirty pour, start with white at the bottom, followed by your darkest color, then your mid-tones, and finish with lighter hues on top.
- Add the Pouring Medium: Mix each layer of paint with pouring medium in a 1:1 ratio. Stir gently to avoid creating bubbles.
- Pour in One Motion: Place the canvas on a level surface. Hold the cup close to the center and pour in a steady stream, allowing the colors to cascade outward. Tilt the canvas slightly if needed to encourage flow.
- Let Gravity Work: Resist the urge to manipulate the paint. The colors will naturally spread, blend, and create organic patterns.
The result? A mesmerizing explosion of color, where each layer peeks through in unexpected ways. It’s a reminder that sometimes, the most stunning art emerges from surrendering control.
The Flip Cup: A Dance of Precision and Serendipity
If the dirty pour is about chaos, the flip cup is its elegant counterpart. This technique involves layering colors in a cup, placing the canvas over it, and flipping the entire setup to let gravity dictate the flow. Here’s the step-by-step:
- Prepare the Cup: Mix your colors with pouring medium in a single cup, layering them from darkest to lightest.
- Place the Canvas: Position a stretched canvas face-down over the cup, ensuring it’s centered.
- Flip and Lift: With one swift motion, flip the cup and canvas together so the canvas is now face-up. The paint will begin to spread across the surface.
- Adjust the Flow: Gently lift the cup to allow the paint to cascade onto the canvas. Tilt the canvas as needed to guide the movement.
The flip cup is a study in patience and precision. The way the colors cascade and pool is hypnotic, and the final result often features striking, concentric patterns that feel almost sculptural.
The Art of Patience: Drying, Curing, and the Waiting Game
Once the pour is complete, the temptation to touch or admire the artwork immediately is overwhelming. But here’s where the true test of an artist’s mettle begins: the drying and curing process. Acrylic pouring doesn’t end with the pour—it’s merely the first act of a longer performance.
Drying times vary depending on the thickness of the paint layers and environmental factors like humidity. A thin pour might dry to the touch within 24 hours, but it’s crucial to wait at least 48-72 hours before handling the piece. During this time, the paint continues to settle, and any residual moisture evaporates. Rushing this step can lead to smudges, fingerprints, or even cracks.
Curing, on the other hand, is a marathon, not a sprint. While the surface may feel dry, the underlying layers can take weeks to fully harden. During this period, avoid stacking or placing heavy objects on the artwork. Once fully cured, your acrylic pour painting will be durable, vibrant, and ready to be displayed or gifted.
This waiting period isn’t just about preservation—it’s a lesson in delayed gratification. In a world that demands instant results, acrylic pouring teaches the value of patience. The artwork evolves even as you step away, a silent testament to the power of time.

Troubleshooting the Unexpected: When Art Defies the Plan
No two acrylic pours are alike, and that’s part of the allure. But what happens when the unexpected veers into the realm of frustration? Whether it’s cracking, muddy colors, or paint that refuses to flow, troubleshooting is an essential skill. Here’s how to navigate common challenges:
Cracking: The Ghosts of Thick Layers
Cracking occurs when the paint dries too quickly or is applied in overly thick layers. To prevent this, ensure your paint mixture is thin enough to flow smoothly. If cracks do appear, don’t panic—they can often be filled with additional paint or a glossy varnish once the piece is fully dry. Think of them as intentional texture rather than flaws.
Muddy Colors: The Perils of Overmixing
When colors blend too thoroughly, they can create a murky, indistinct mess. To avoid this, resist the urge to stir excessively when mixing your paints. Layer the colors in the cup without overmixing, and let them interact naturally on the canvas. If muddiness occurs, consider adding a pop of bright color on top to revive the vibrancy.
Paint That Won’t Flow: The Thickness Trap
If your paint mixture is too thick, it won’t spread across the canvas. This often happens when the pouring medium is underused or the paint is too heavily pigmented. Adjust the ratio by adding more medium or a splash of water, but be cautious—too much water can weaken the paint’s adhesion.
Remember, every “mistake” is an opportunity to learn. The most striking acrylic pours often emerge from happy accidents, where an error becomes the focal point of the artwork.
Beyond the Basics: Elevating Your Pouring Game
Once you’ve mastered the fundamentals, the world of acrylic pouring expands into endless possibilities. Here are a few advanced techniques to challenge and inspire you:
Cells and Silicone: A Controversial Love Affair
While this guide emphasizes silicone-free methods, it’s worth noting that silicone can create dramatic “cells” in your pours—those mesmerizing, bubble-like patterns where colors separate. If you’re curious, experiment with a tiny drop of silicone in your paint mixture. Start with a 1:10 ratio and observe how the cells form. But remember, the goal isn’t to force cells—it’s to let the art speak for itself.
Resin Finishes: The Glossy Finale
For a glass-like, mirror finish, consider sealing your acrylic pour with resin. This step isn’t necessary for beginners, but it can transform a good piece into a showstopper. Resin adds depth and luminosity, making the colors appear to glow from within. Just be sure to work in a well-ventilated area and follow safety protocols.
Mixed Media: Where Pouring Meets the Unexpected
Why stop at paint? Incorporate elements like gold leaf, glitter, or even dried flowers into your pours. Embedding objects into the wet paint can create stunning contrasts and textures. For example, a sprinkle of gold leaf on a dark background can evoke the shimmer of a starry night.
The key to advancing is to stay curious. Try new color combinations, experiment with different surfaces, or even combine pouring with other art forms. The canvas is your playground—there are no rules, only discoveries.
Acrylic pouring is more than a technique; it’s a philosophy. It’s about embracing imperfection, trusting the process, and finding joy in the unexpected. Whether you’re a seasoned artist or a complete novice, the act of pouring paint onto a canvas is a reminder that creativity doesn’t require perfection—it requires courage.
So gather your supplies, clear a space, and let the colors guide you. The canvas is waiting, and the magic is in your hands.


Leave a Comment