

Embarking on the ancient yet ever-evolving art of raku firing at home is like unlocking a hidden alchemy—where clay, fire, and intuition converge to birth objects that shimmer with unpredictability. This Japanese-inspired technique, once reserved for ceremonial tea bowls, has found a new home in modern studios and backyards alike. Raku firing isn’t merely a method; it’s an experience, a dance between control and chaos, patience and spontaneity. Whether you’re a seasoned ceramicist or a curious beginner, the allure of raku lies in its accessibility and its ability to transform the ordinary into the extraordinary. Imagine pulling glowing-hot pottery from a kiln, quenching it in combustible materials, and unveiling a surface that tells a story of heat, reduction, and serendipity. It’s art in its most visceral form.
But raku firing at home isn’t just about the spectacle—it’s about safety, preparation, and a deep respect for the process. The dance of flames and smoke demands attention to detail, from selecting the right clay and glazes to setting up a dedicated workspace. Yet, the rewards are unparalleled: pieces that bear the marks of their creation, each crackle and burst of color a testament to the fire’s embrace. Whether you’re drawn to the traditional Japanese aesthetic or the bold, contemporary interpretations, raku offers a canvas for experimentation. Let’s explore the key aspects of this captivating technique, from the tools you’ll need to the stunning results you can achieve.
The Essence of Raku: Tradition Meets Modernity
Raku firing traces its roots to 16th-century Japan, where it was used to create tea bowls for the tea ceremony, embodying the principles of wabi-sabi—impermanence, imperfection, and the beauty of the imperfect. The word “raku” itself means “enjoyment” or “comfort,” reflecting the meditative nature of the process. Today, artists worldwide have adapted raku to suit contemporary tastes, blending traditional methods with innovative techniques. At its core, raku is a low-fire process, typically reaching temperatures between 1,400°F and 1,800°F (760°C–980°C). The magic happens in the post-firing stage, where the pottery is transferred to a reduction chamber filled with combustible materials like sawdust, straw, or even newspaper. As the materials burn, they consume oxygen, creating a smoky, oxygen-deprived environment that alters the glaze and clay, producing striking metallic hues and crackle patterns.
What sets raku apart is its unpredictability. Unlike high-fire ceramics, where precision and consistency are paramount, raku celebrates the unexpected. Each piece is a collaboration between the artist and the fire, a fleeting moment of transformation that can never be replicated exactly. This element of surprise is what makes raku so exhilarating. For those new to the craft, it’s a humbling reminder that art isn’t always about control—sometimes, it’s about surrendering to the process and embracing the unknown.
Setting Up Your Raku Studio: Safety and Space
Before you can dive into the fiery world of raku, you’ll need a dedicated space that prioritizes safety and efficiency. A well-organized studio minimizes risks and maximizes creativity. Start with a sturdy, fireproof surface—concrete, brick, or a metal table with a heat-resistant mat will do. Ensure your workspace is well-ventilated, as the fumes from burning combustibles can be hazardous. A small outdoor area, like a patio or garage with open doors, is ideal. If indoors, consider a fume hood or exhaust fan to keep the air clean.
Invest in essential safety gear: heat-resistant gloves, safety goggles, and a respirator for handling fine clay and glaze particles. A fire extinguisher should always be within arm’s reach, and a bucket of water nearby is crucial for quenching fires or cooling tools. Your kiln, the heart of your raku setup, should be placed on a non-flammable surface, away from walls and flammable materials. Electric kilns are popular for raku due to their precise temperature control, but propane kilns offer a more traditional experience. Whichever you choose, ensure it’s in good working order and properly ventilated.
Organize your tools and materials for easy access. A sturdy worktable for wedging clay, a set of rib tools for shaping, and a variety of brushes for glaze application are must-haves. Don’t forget a kiln sitter or pyrometer to monitor temperatures, and a pair of tongs for handling hot pieces. Label your glazes and combustibles clearly to avoid mix-ups. A well-thought-out studio isn’t just practical—it’s a sanctuary where creativity can flourish without the clutter of chaos.
Clay and Glazes: The Building Blocks of Raku Magic
The foundation of any raku piece is the clay itself. Raku clay is formulated to withstand thermal shock, a critical feature given the rapid heating and cooling the pottery undergoes. It’s typically a coarse, grogged clay that resists cracking and warping. Look for clays labeled as “raku clay” or “low-fire clay” with a high grog content. These clays are forgiving and allow for a wide range of glaze applications. For beginners, a smooth, mid-range raku clay is a great starting point—it’s easy to work with and produces consistent results.
Glazes are where the magic truly happens. Raku glazes are designed to melt at low temperatures and produce vibrant, metallic, or iridescent effects. They often contain fluxes like boron, lithium, or zinc, which lower the melting point and create stunning surface textures. Traditional raku glazes include copper-based formulas for reds and greens, cobalt for blues, and iron for earthy browns and blacks. Modern raku glazes push boundaries further, incorporating crystalline glazes, lusters, and even reactive glazes that shift colors dramatically during firing.
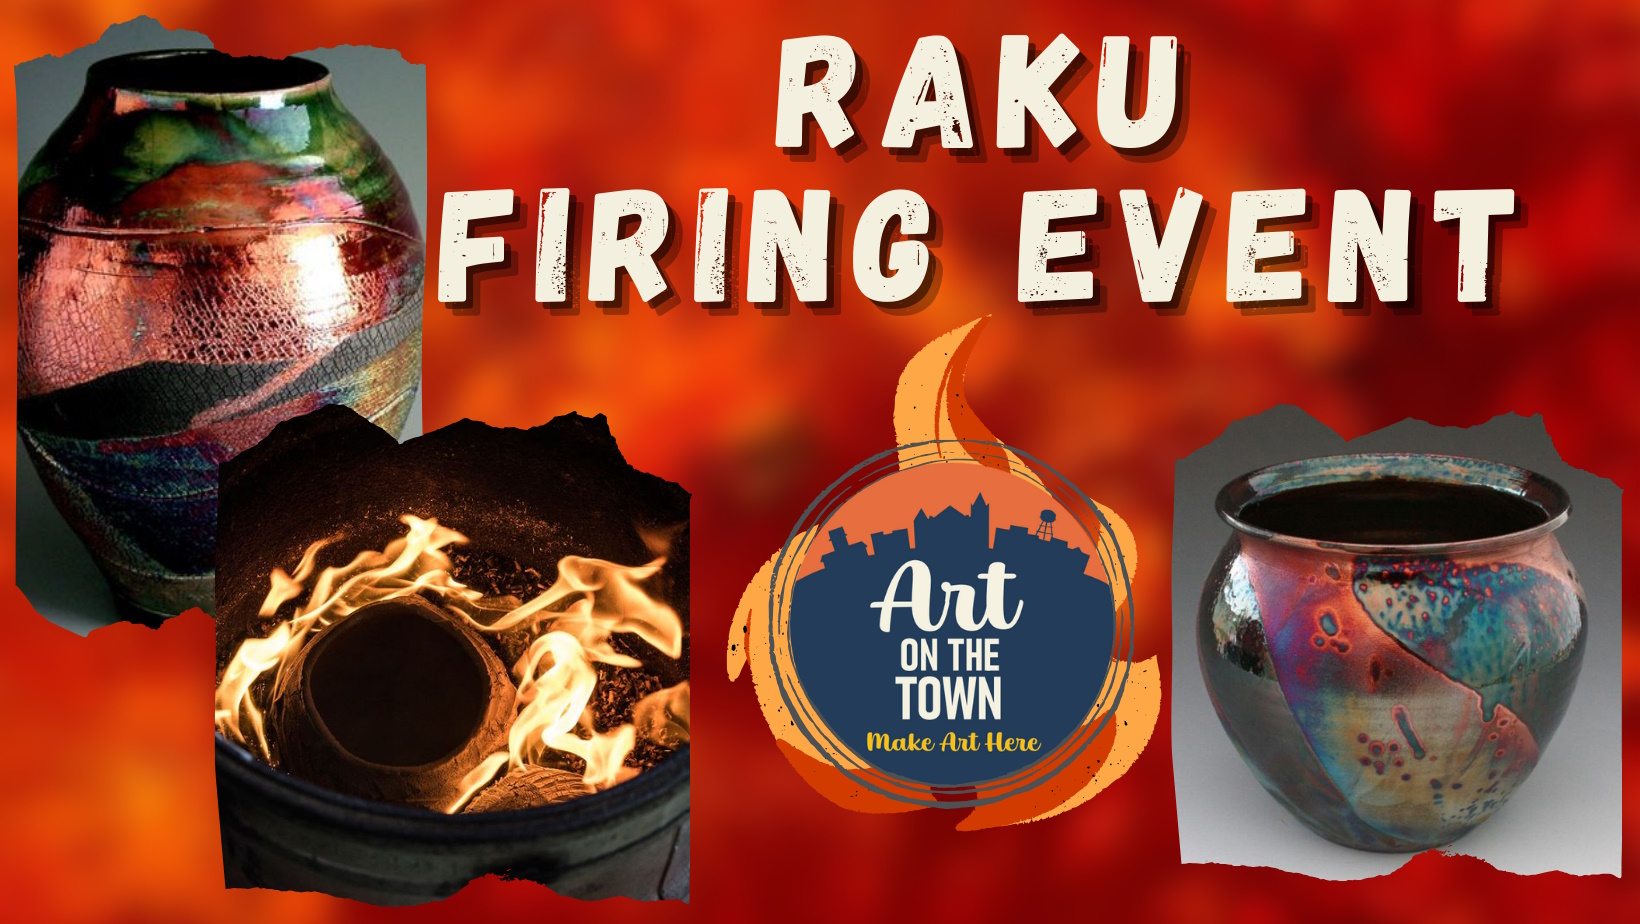
Experimenting with glazes is part of the raku journey. Mix your own glazes by combining dry ingredients with water, or purchase pre-mixed raku glazes for convenience. Apply glazes in layers, using brushes, sponges, or even spraying techniques to create depth and texture. Remember, raku glazes are thick and opaque—don’t be afraid to build up layers for a more dramatic effect. The key is to embrace the unpredictability; even the most carefully applied glaze can transform in the kiln, revealing hidden patterns and colors.
The Firing Process: From Kiln to Reduction Chamber
The raku firing process is a symphony of heat, timing, and intuition. It begins with bisque firing your pottery to remove any remaining moisture and harden the clay. Bisque firing typically occurs at a lower temperature, around 1,600°F (870°C), and prepares the pieces for glaze application. Once bisqued, apply your chosen glazes and let them dry completely before loading the kiln. Rushing this step can lead to glaze defects or even explosions in the kiln.
Loading the kiln is an art in itself. Arrange your pieces carefully, ensuring they’re not touching to allow for even heat distribution. Place larger or thicker pieces toward the bottom, where the heat is most intense, and smaller pieces toward the top. Use kiln shelves and posts to create layers, maximizing space without overcrowding. Once loaded, seal the kiln and begin the firing process. Raku kilns heat up quickly, so monitor the temperature closely. Aim for a ramp rate of 200–300°F (93–149°C) per hour to avoid thermal shock. The goal is to reach the target temperature—usually between 1,400°F and 1,800°F (760°C–980°C)—as evenly as possible.
The climax of the firing is the moment the pottery is removed from the kiln. Wearing heat-resistant gloves and goggles, open the kiln and transfer the glowing-hot pieces to a reduction chamber. This can be a metal trash can, a barrel, or even a dedicated reduction tank filled with combustible materials. The choice of combustibles is vast: sawdust, straw, leaves, or even shredded paper can create different effects. The key is to smother the pottery in smoke and flame, starving it of oxygen to induce reduction. The longer the reduction lasts, the more dramatic the color changes will be. Some artists leave the pieces in the chamber for just a few minutes, while others let them smoke for hours, creating deep, rich blacks and metallic sheens.
Unveiling the Magic: Post-Firing Techniques and Finishing Touches
The moment you lift the lid of the reduction chamber and reveal your raku-fired pottery is pure magic. The pieces emerge from the smoke, their surfaces transformed by the fire’s touch. Some may glisten with iridescent hues, while others bear the stark contrast of crackle patterns and metallic streaks. The reduction process has worked its alchemy, altering the glaze and clay in ways that defy prediction. This is the heart of raku—where art and nature collide.
Once cooled, the pottery is ready for its final touches. Rinse the pieces gently with water to remove any residual ash or soot, but avoid scrubbing, as this can damage the delicate surfaces. For a more polished look, some artists use a soft brush or cloth to wipe away loose particles. If the reduction process has left the pottery looking dull, a light application of wax or resin can enhance the colors and add a subtle sheen. Be cautious with these finishes, as they can alter the natural beauty of the raku surface.

The crackle patterns, or “crazing,” are a hallmark of raku pottery. These fine lines are created by the rapid cooling of the glaze, which contracts at a different rate than the clay. While some artists embrace the natural crazing as part of the raku aesthetic, others may choose to fill the cracks with ink or wax for a more refined look. Experiment with different techniques to see what resonates with your artistic vision. The beauty of raku lies in its versatility—each piece is a unique reflection of the process, the materials, and the artist’s touch.
Exploring Raku Variations: From Traditional to Contemporary
Raku firing is a canvas for endless experimentation. Traditional Japanese raku, known as “Raku-yaki,” focuses on simplicity and the natural beauty of the materials. Tea bowls, vases, and plates are often left unglazed or adorned with minimalist glazes, emphasizing the clay’s texture and the fire’s marks. In contrast, contemporary raku embraces bold colors, intricate patterns, and mixed media. Artists incorporate metallic lusters, crystalline glazes, and even non-ceramic elements like wire or glass to push the boundaries of the technique.
One popular variation is “naked raku,” where the pottery is unglazed, and the reduction process creates a smoky, carbon-rich surface. The clay itself becomes the canvas, revealing its natural colors and textures. Another technique is “horse hair raku,” where strands of horse hair are applied to the hot pottery post-firing. The hair burns away, leaving behind delicate, web-like patterns that add a touch of whimsy to the piece. For those seeking a more avant-garde approach, “saggar firing” involves enclosing the pottery in a container with combustible materials, creating a controlled environment for unique surface effects.
The world of raku is as diverse as the artists who practice it. Whether you’re drawn to the meditative simplicity of traditional raku or the bold experimentation of contemporary styles, there’s a path for every creative spirit. The key is to stay curious, embrace the unexpected, and let the fire guide your hand.
Caring for Your Raku Creations: Display and Preservation
Raku-fired pottery is not just a decorative object—it’s a piece of living art, a testament to the fire’s transformative power. To preserve its beauty, handle your raku pieces with care. Avoid exposing them to extreme temperature changes, as this can cause thermal shock and weaken the clay. Display them in a place where they won’t be knocked over or subjected to direct sunlight, which can fade vibrant colors over time.
Cleaning raku pottery is simple: use a soft, damp cloth to wipe away dust, and avoid harsh chemicals or abrasive cleaners. If the piece becomes dull, a light application of wax or resin can restore its luster. For outdoor displays, consider sealing the pottery with a weather-resistant finish to protect it from the elements. Remember, raku pottery is meant to be enjoyed and admired—its imperfections are part of its charm.
When gifting raku pieces, share the story behind their creation. Explain the process, the materials, and the moments of surprise and delight that went into their making. Each piece carries the energy of the fire and the artist’s intent, making it a meaningful and personal gift. Whether displayed on a shelf, used as a centerpiece, or incorporated into a larger art installation, raku pottery is sure to captivate and inspire.
The journey of raku firing is one of discovery, patience, and wonder. It’s a process that teaches us to embrace the unpredictable, to find beauty in the imperfect, and to connect with the primal forces of fire and clay. Whether you’re a seasoned ceramicist or a curious beginner, raku offers a unique opportunity to create art that is as safe as it is spectacular. So gather your materials, prepare your studio, and let the fire guide your creativity. The world of raku awaits—where every piece is a story, and every firing is an adventure.


Leave a Comment