

There’s something almost uncanny about the way a well-crafted digital portrait can make your skin prickle with recognition—like staring into a mirror that doesn’t just reflect, but *remembers*. The pores, those tiny craters of life, the subtle bumps that catch the light just so, the way light diffuses beneath the surface as if the skin itself were a living lantern. These aren’t just details. They’re the silent architects of realism in digital art, the unsung heroes that transform a sculpt from a convincing facsimile into something that breathes. And when it comes to mastering them in ZBrush, the secret isn’t just in the tools—it’s in understanding the poetry of imperfection.
Welcome to the hidden world of skin simulation, where every bump tells a story and every pore whispers of a life lived. This isn’t just about making a face look real. It’s about making it feel inevitable, as though it had always existed in the digital realm, waiting to be uncovered. Let’s peel back the layers of this complex craft, from the microscopic craters of the epidermis to the luminous glow of sub-surface scattering, and discover how to breathe life into your digital sculptures.
The Microscopic Landscape: Crafting Pores That Breathe
Pores are not mere dots on a surface—they are miniature ecosystems, tiny craters where oil, sweat, and environmental detritus gather. In ZBrush, replicating them isn’t about scattering random dots; it is about sculpting topography. Start with a high-resolution base mesh. Use the Clay Buildup brush with a low intensity to raise subtle ridges around where pores will cluster—often around the T-zone and nasolabial folds. These aren’t flat indentations; they’re shallow craters with raised edges, mimicking the way sebum collects and clings to the skin’s surface.
For variation, employ the Dam Standard brush in a soft, tapered stroke. Rotate your canvas frequently. Pores aren’t uniform—they twist, they flare, they cluster in organic rhythms. Use alphas sparingly; they can flatten the illusion. Instead, build up pore density gradually. A single brush stroke can become a field of micro-pores when combined with Noise and Surface Noise in the brush settings. Adjust the noise scale to match the skin’s age—finer for youth, coarser for weathered skin. Remember: pores are not just visual. They’re tactile. When sculpted with intention, they invite the viewer’s eye to *feel* the surface.
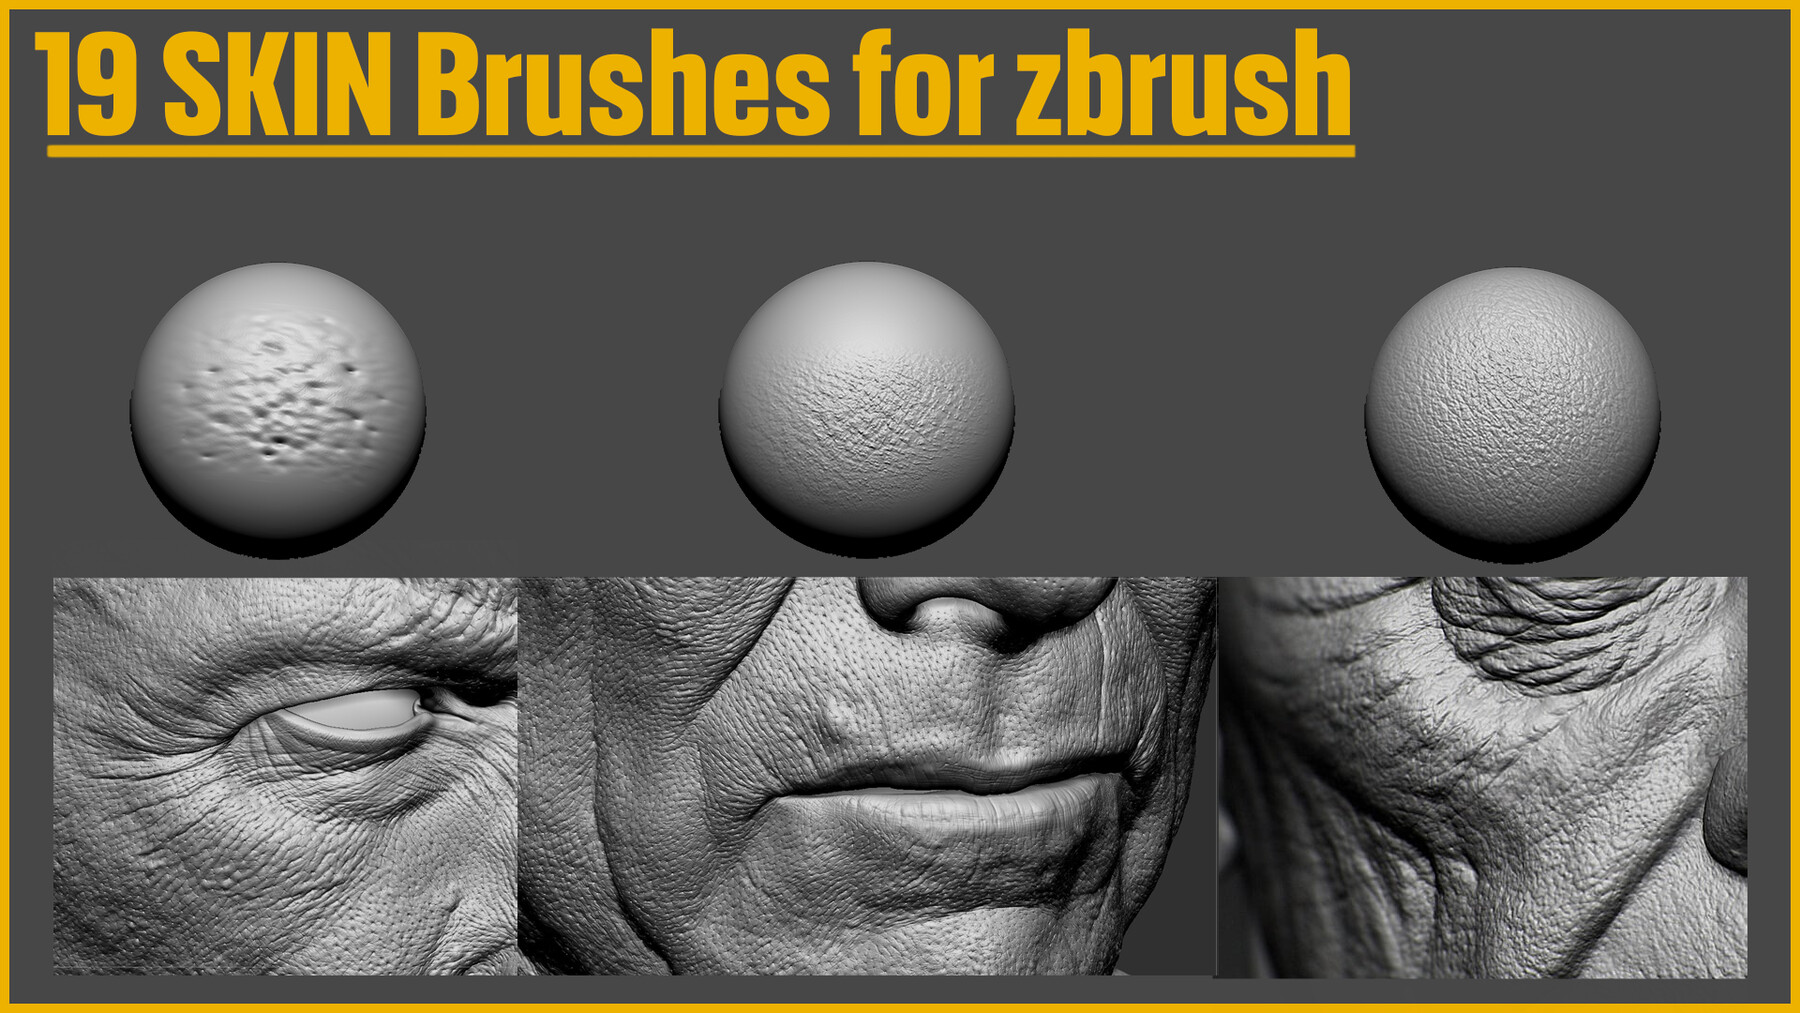
But here’s the deeper truth: pores aren’t just about realism—they’re about *character*. A young face has delicate, evenly spaced pores. An older one tells a story through clustered, dilated openings. Use pore density as a narrative device. A character who’s spent years under harsh sunlight will have pronounced, uneven pores along the cheeks and forehead. Let the pores become a visual biography.
Bumps and Grooves: The Rhythm of Skin Texture
Pores are just one layer of the skin’s topography. Beneath them lies a landscape of micro-bumps—tiny undulations caused by collagen fibers, hair follicles, and muscle tension. These aren’t random; they follow the body’s underlying structure. The Standard brush with a low intensity can be used to gently raise and lower these areas. Focus on the cheeks, temples, and jawline, where skin stretches and compresses during expression.
For dynamic texture, layer in Surface Noise with a high frequency and low strength. This simulates the fine grain of skin under magnification. Combine it with Alphas that mimic skin weave—think of stretched fabric or crumpled paper—but always apply them with a sense of direction. Skin texture flows like water over stone, following the contours of muscle and bone. Use the Move brush to subtly adjust the flow of these textures, ensuring they wrap naturally around the orbital sockets and nasal bridge.
Don’t forget the Crease brush. It’s not just for wrinkles—it’s perfect for defining the subtle grooves around the eyes, mouth, and ears. These creases aren’t sharp; they’re soft, like the folds in a well-worn leather jacket. Use them sparingly, and always in harmony with the overall surface flow. The goal isn’t to add texture—it’s to reveal the skin’s inherent architecture.
Sub-Surface Scattering: The Glow Beneath the Surface
Now we arrive at the soul of skin simulation: sub-surface scattering (SSS). This isn’t just a shader effect—it’s a physical phenomenon where light penetrates the skin, scatters internally, and re-emerges, giving skin its luminous, organic quality. In ZBrush, SSS is achieved through the MatCap and Polypaint systems, but the real magic happens in post-processing and render engines like KeyShot or Marmoset.
Start by applying a base color that isn’t flat. Skin is a mosaic of reds, blues, yellows, and greens—hemoglobin, melanin, and carotene all playing their part. Use Polypaint to layer these hues subtly. The cheeks may have a warmer tone, the ears a cooler blue-green where blood vessels lie close to the surface. Then, enable SSS in your render settings. The key is balance: too much scattering makes skin look waxen; too little, plastic. Adjust the scattering radius based on skin thickness—thinner skin (like eyelids) scatters less; thicker skin (like the nose) scatters more.
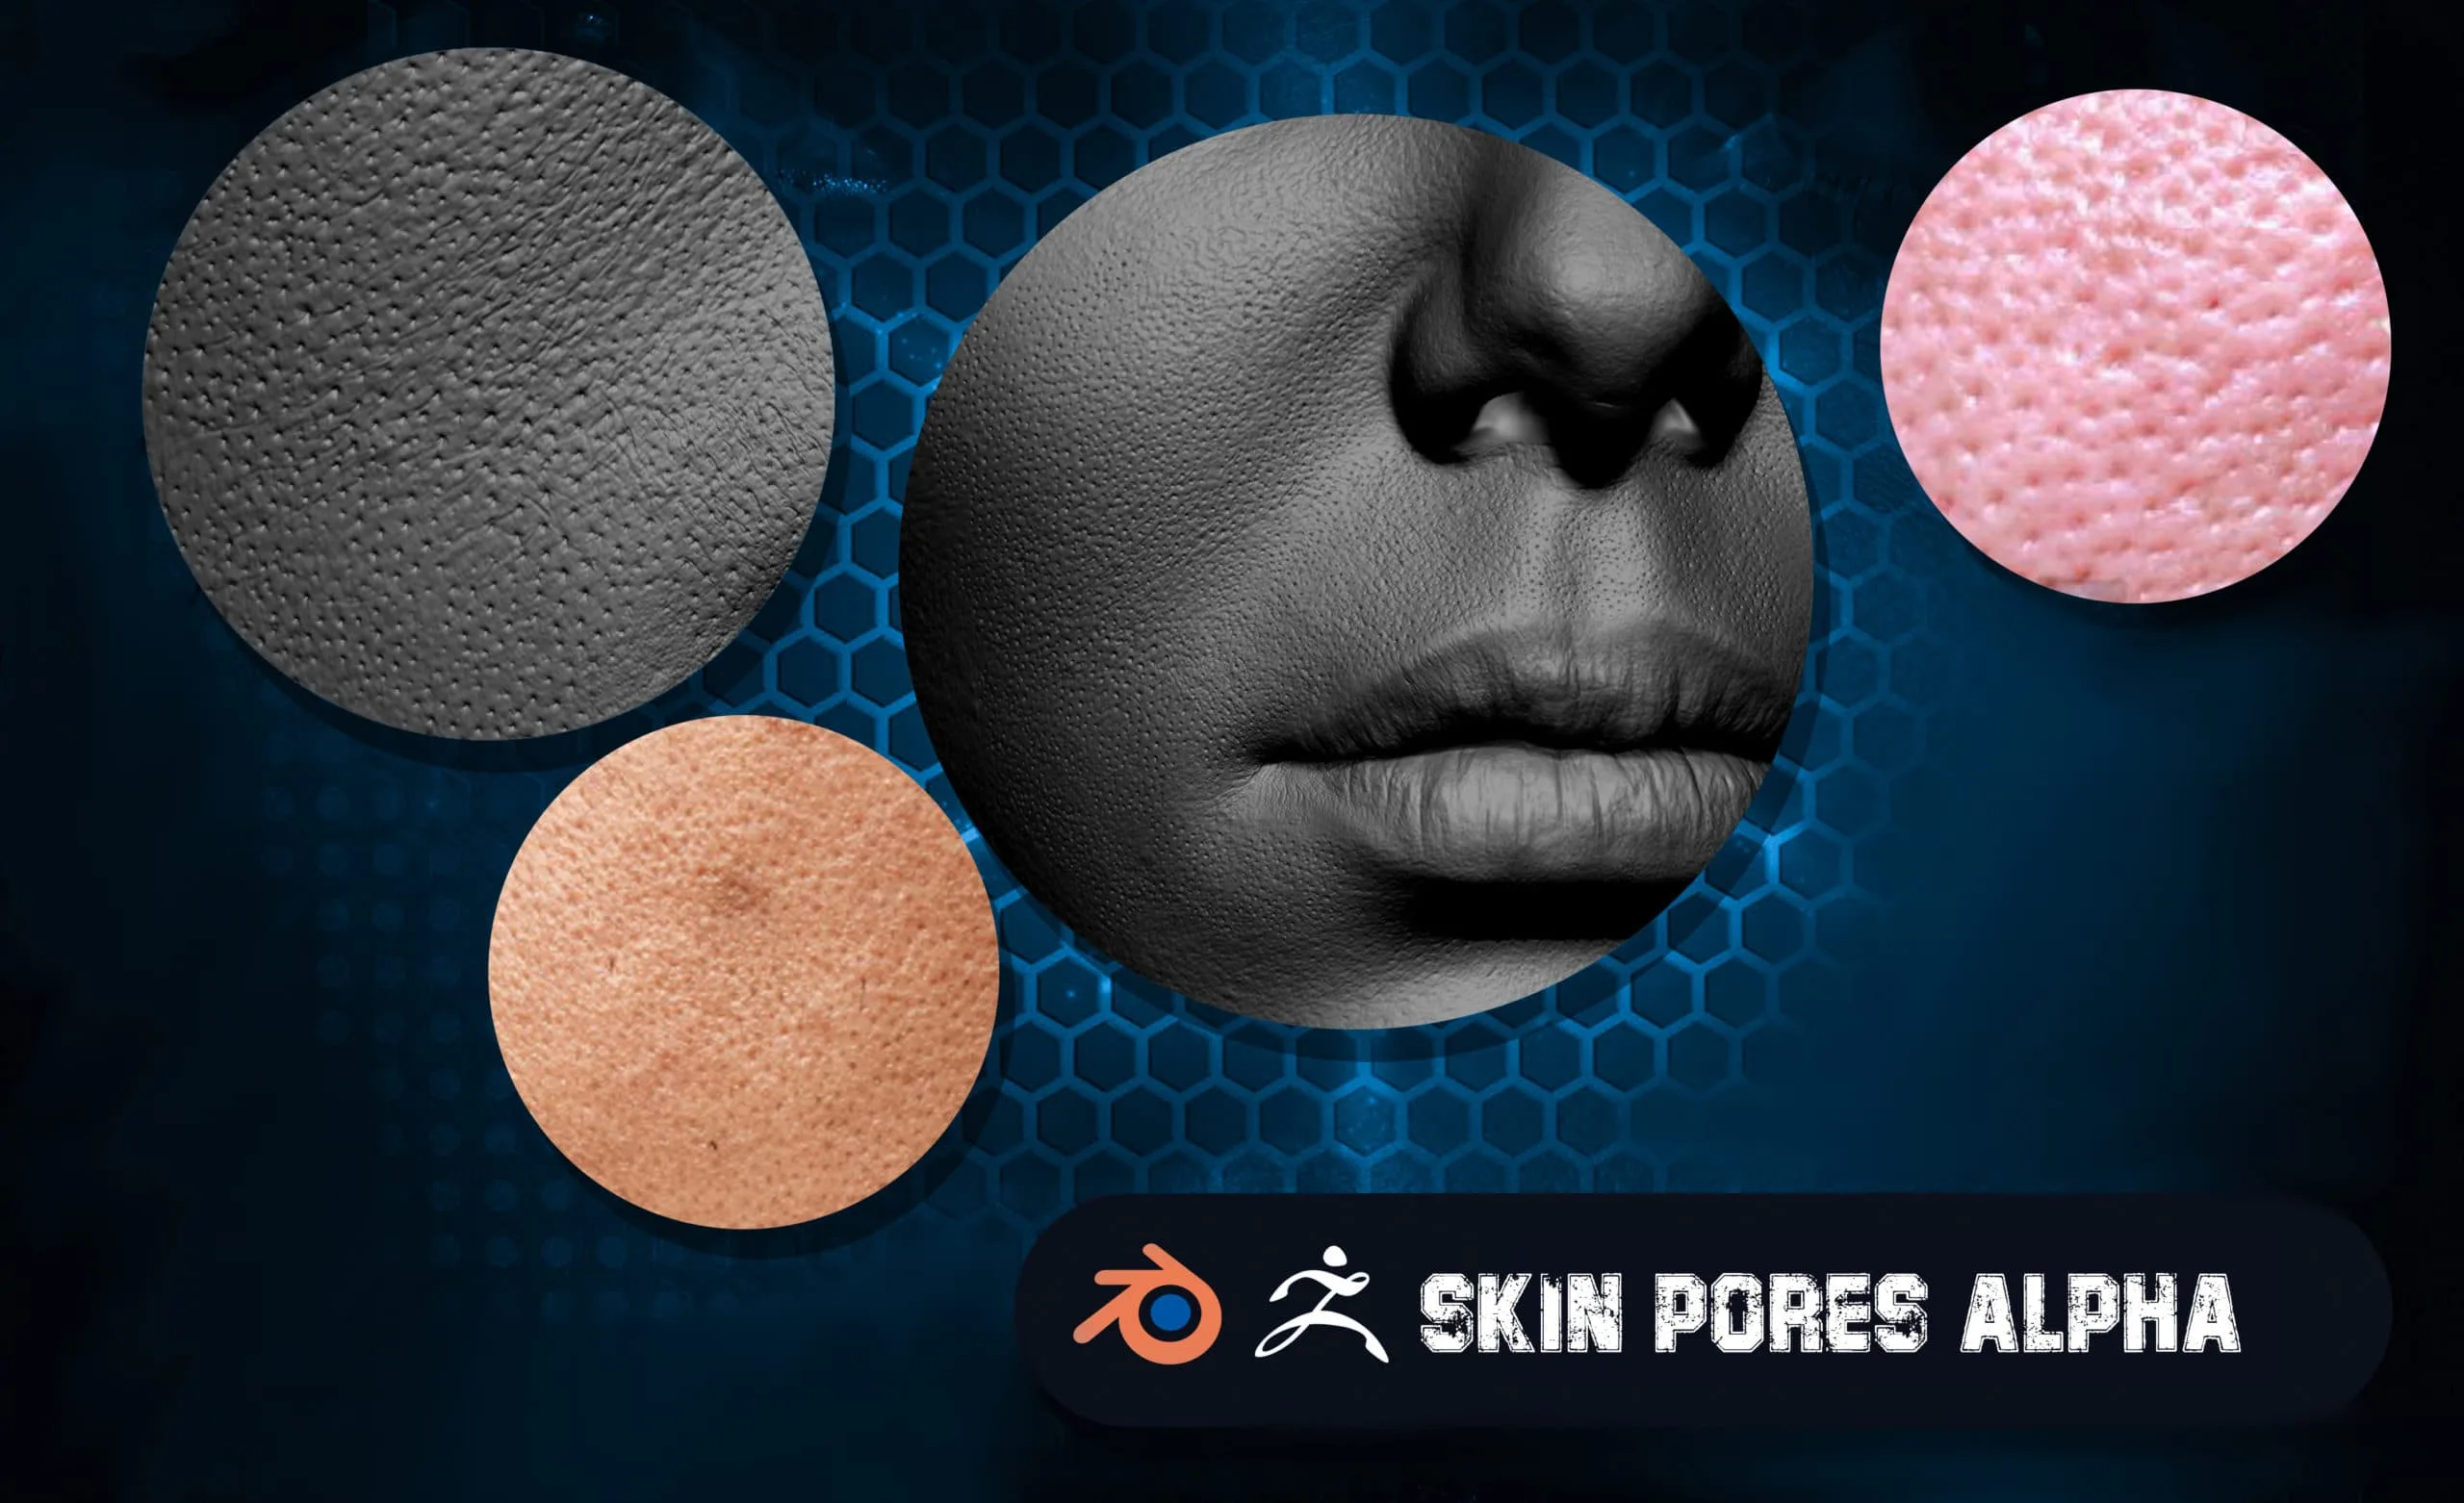
But SSS isn’t just about color—it’s about depth. The deeper the light penetrates, the more it scatters, creating a soft halo around edges like the ears and nose. Use a rim light to enhance this effect. The interplay between direct light and scattered light is what makes skin feel alive. And here’s the secret: SSS reveals the *age* of skin. Youthful skin has high collagen density, so light scatters more evenly. Aging skin thins, so scattering becomes uneven, creating sallow patches and dark under-eyes. Use SSS not just to mimic reality, but to tell a story of time and experience.
The Dance of Light and Shadow: Rendering Skin That Feels Alive
Even the most meticulously sculpted skin can fall flat without proper lighting. Skin doesn’t reflect light—it absorbs, scatters, and emits it. Use a three-point lighting setup, but with a twist: the key light should be soft and diffused, mimicking natural daylight. Avoid harsh shadows; they flatten the skin’s topography. Instead, use fill lights with a warm tone to simulate bounced light from the environment.
Pay attention to the specular highlights. On real skin, these aren’t mirror-like—they’re soft, diffused glints that shift with movement. Use a low roughness value in your shader, and animate subtle shifts in highlight position to simulate skin’s natural oiliness. The nose tip, forehead, and cheekbones will catch light differently based on their curvature and oil concentration.
Finally, consider the environment. Skin reflects its surroundings—blue from the sky, green from grass, warm tones from brick walls. Use an HDRI with a variety of color temperatures to create a natural bounce. The subtle color shifts in the skin’s surface aren’t just details; they’re the visual echoes of the world the character inhabits.
From Sculpt to Screen: The Final Touch of Authenticity
Before exporting your sculpt, perform a final pass with the Smooth brush—just enough to soften any harsh transitions, but never so much that you erase the topography you’ve worked so hard to create. Then, in your render engine, enable ambient occlusion and global illumination. These aren’t just technical checkboxes; they’re the final brushstrokes that make skin feel grounded in a three-dimensional world.
Remember: realism isn’t about perfection. It’s about *truth*. And the truth of skin is that it’s never perfect—it’s lived in. It’s weathered, oily, dry, scarred, freckled, wrinkled. It tells a story. Your job isn’t to hide that story—it’s to amplify it. Every pore, every bump, every scattered photon is a sentence in the narrative of your character.
So the next time you sculpt skin in ZBrush, don’t just think about making it look real. Think about making it feel inevitable. Think about the hands that touched it, the sun that kissed it, the years that etched their mark upon it. Because the secret to realistic skin isn’t in the tools—it’s in the empathy. And that’s the most powerful brush of all.


Leave a Comment