

Ever stared at a pile of cabinet carcasses and a handful of slippery, enigmatic undermount drawer slides, wondering if you’ve accidentally enrolled in a woodworking boot camp instead of just trying to organize your socks? You’re not alone. The promise of silent, smooth drawers is alluring—until reality hits. No jig? No problem. No tears? That’s the real challenge.
Undermount drawer slides are the stealth bombers of kitchen storage: invisible when closed, effortless when opened, and utterly unforgiving when misaligned. Without a jig, the margin for error narrows to the width of a human hair and the patience of a saint. But what if I told you it’s possible to install them with nothing but a tape measure, a pencil, and the stubbornness of a mule? Let’s embark on this journey—where precision meets perseverance, and the only thing sliding smoothly is your drawer.
The Perilous Promise of Silent Drawers
Undermount slides glide like ghosts, their soft-close mechanisms whispering promises of kitchen zen. But beneath that polished exterior lies a labyrinth of alignment, spacing, and structural integrity. One misplaced screw, and suddenly your drawer sounds like a freight train in a tunnel. The key to avoiding this sonic disaster? Understanding the anatomy of the slide itself.
Each undermount slide consists of a stationary track (attached to the cabinet) and a sliding track (attached to the drawer box). The magic happens in the middle, where ball bearings or nylon rollers reduce friction to near-zero. But here’s the catch: these components demand millimeter-perfect positioning. A 1/16-inch deviation can turn a silent glide into a grinding nightmare. So, before you even touch a screw, acquaint yourself with the slide’s geometry. Hold it up to the light. Trace its contours with your fingertip. Respect the slide. It’s watching you.
Measuring Twice, Crying Once: The Art of Pre-Installation Ritual
You wouldn’t bake a soufflé without preheating the oven—so why install slides without prepping the cabinet? Begin by measuring the cabinet’s interior width and depth. Subtract 1/4 inch from the width to allow for the drawer box’s movement. For depth, ensure there’s at least 1/2 inch of clearance behind the drawer front to prevent binding.
Now, grab your pencil and mark the cabinet’s bottom edge where the stationary track will sit. This isn’t just any line—it’s the foundation of your drawer’s future. Use a level to ensure it’s perfectly horizontal. A sloped track means a drawer that rolls out like a runaway shopping cart. And nobody wants that.
Next, measure the distance from the cabinet’s back wall to the front edge. Subtract the depth of your drawer box. The result? The ideal position for the slide’s mounting holes. Mark these spots with surgical precision. If your marks look like they were made by a sleep-deprived raccoon, start over. There’s no room for artistic interpretation here.
Attaching the Stationary Track: The Delicate Dance of Screws
With your pencil marks glowing like sacred hieroglyphs, it’s time to mount the stationary track. Align the track with your marks, ensuring it’s flush against the cabinet’s bottom. Here’s where things get tricky: undermount slides often require pilot holes to prevent wood splitting. Use a drill bit slightly smaller than your screws—think of it as a gentle introduction rather than a full-force invasion.
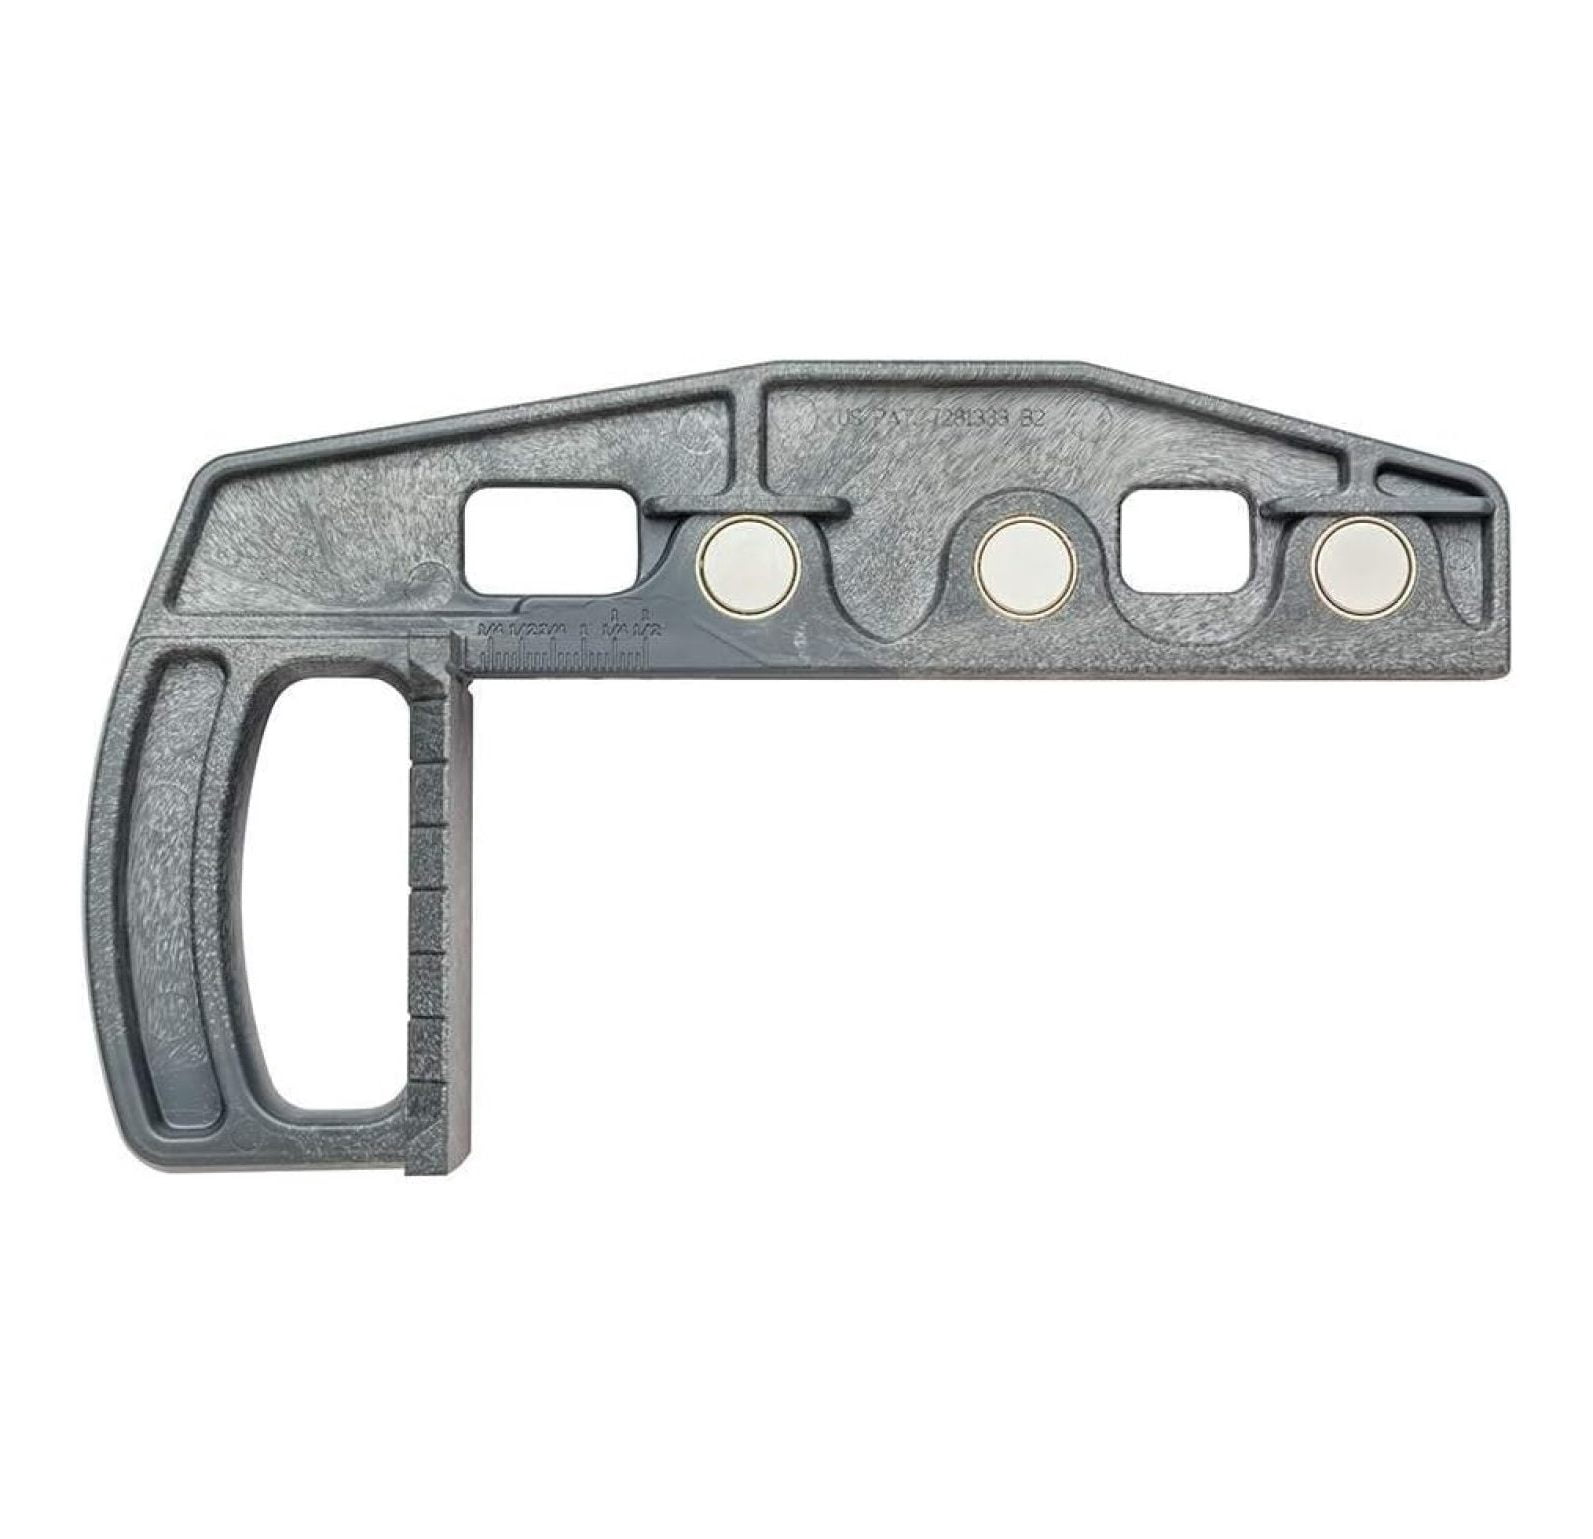
Screw the track into place, but don’t overtighten. You’re not wrestling a bear—you’re coaxing a slide into compliance. Leave the screws slightly loose for now. This allows for micro-adjustments later, a lifeline when reality refuses to cooperate.
Assembling the Drawer Box: Where Precision Meets Panic
Now, turn your attention to the drawer box. If you’re using plywood or MDF, ensure the edges are sanded smooth. Rough edges will shred the slide’s rollers like a cheese grater through mozzarella. Attach the sliding track to the drawer box, again using pilot holes. The track should sit flush against the drawer’s bottom, centered along its width.
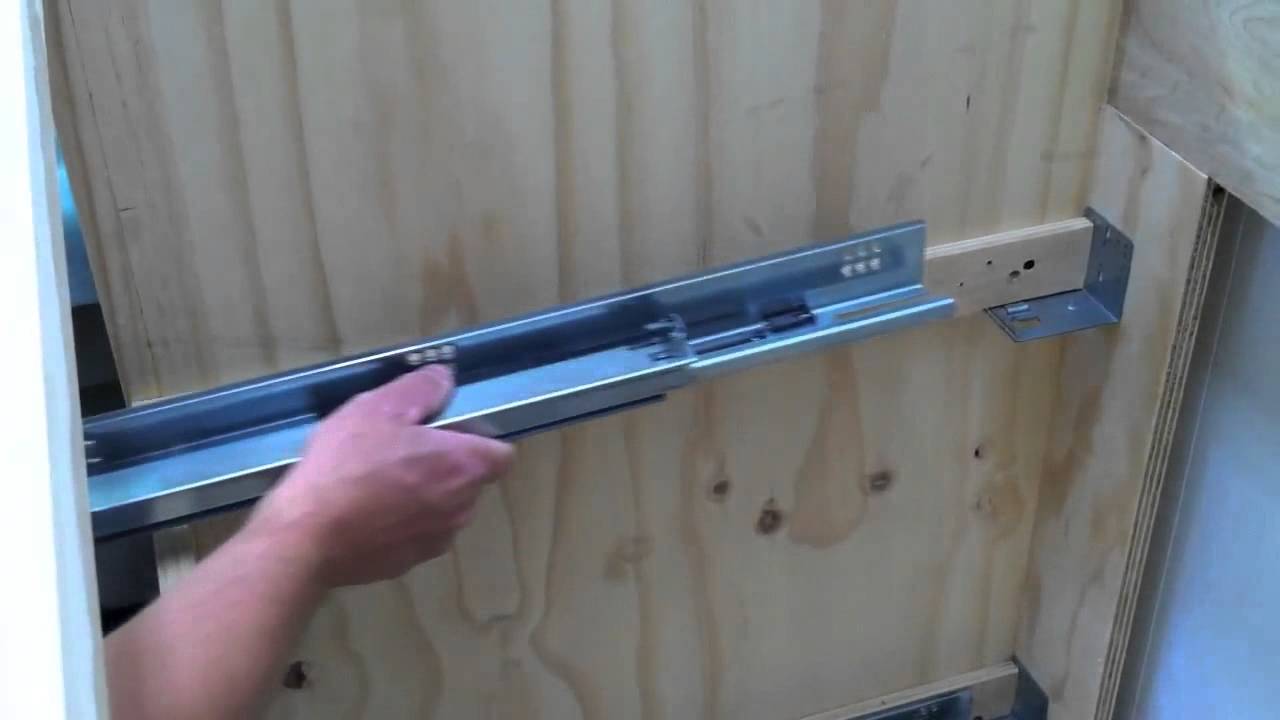
Here’s a pro tip: test-fit the drawer into the cabinet before finalizing the track’s position. Slide the box in and out a few times. Listen for any telltale grinding or resistance. If it sounds like a garbage disposal full of pennies, adjust the track’s position incrementally. Patience isn’t just a virtue—it’s a survival skill.
The Moment of Truth: Inserting the Drawer
With both tracks mounted, it’s time to unite drawer and cabinet. Align the drawer’s sliding track with the stationary one. Gently push the drawer in, guiding the tracks together like a matchmaker introducing two long-lost lovers. If it doesn’t slide in smoothly, don’t force it. Forcing leads to stripped screws, splintered wood, and the kind of frustration that makes you question your life choices.
Instead, remove the drawer and re-examine your alignment. Are the tracks parallel? Is the cabinet level? Even a 1-degree tilt can throw everything off. Use shims under the cabinet’s base if needed. Remember, the goal isn’t just to install a drawer—it’s to install a drawer that works so well you forget it’s there.
Fine-Tuning: The Slight Adjustments That Make All the Difference
Once the drawer is in place, test its movement. It should glide like a figure skater on ice. If it hesitates or sticks, it’s time for fine-tuning. Loosen the screws on the stationary track slightly and nudge it left or right. Tighten the screws and test again. Repeat until the drawer moves like it’s on rails.
For drawers with soft-close mechanisms, ensure the dampening feature engages just before the drawer reaches the cabinet. If it slams shut or doesn’t close fully, adjust the sliding track’s position forward or backward. This is where your earlier pilot holes become your best friends—easy to tweak, hard to regret.
The Final Test: Load It Up and Walk Away
Now, load the drawer with its intended cargo. A fully loaded drawer is the ultimate stress test. If it still glides smoothly under weight, you’ve done it. If not, go back to the drawing board. There’s no shame in iteration—only in surrendering to mediocrity.
Once you’re satisfied, step back and admire your work. That silent, smooth drawer is a testament to your patience, precision, and refusal to accept anything less than perfection. No jig. No tears. Just the quiet satisfaction of a job well done.
And if someone asks how you did it, just smile and say, “I listened to the wood.” Because in the end, that’s all it ever really wants.


Leave a Comment